Spinach, that’s the big, green deal.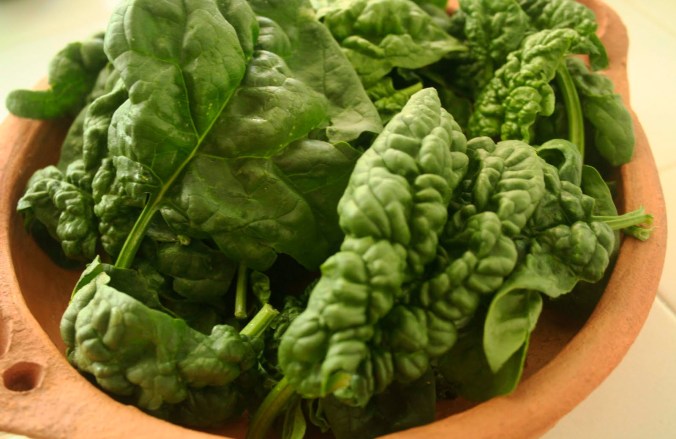 Did you know that curly leaf, or savoy spinach almost went extinct? With the advent of the triple-washed, bagged baby spinach the demand for it among the big produce companies pretty much disappeared. The flavor is less mild, and all those nooks and crannies on the surface of the leaf makes it hard to thoroughly clean a product which already has a somewhat problematic reputation and history concerning sick-making microbes.
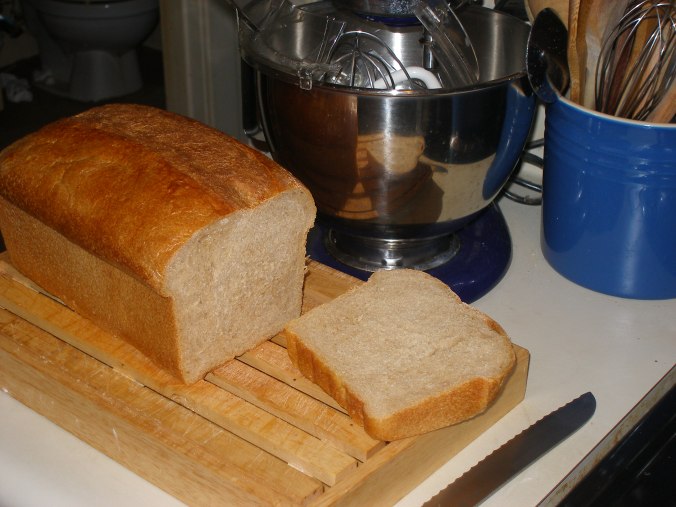
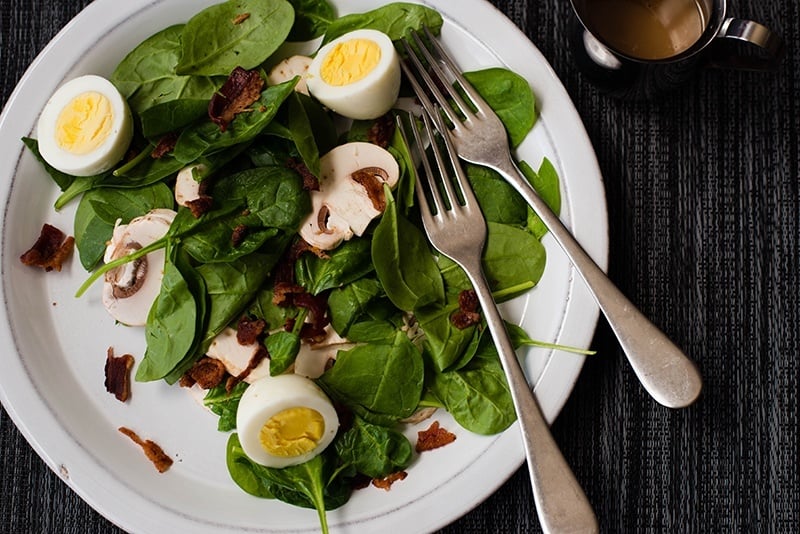 But Petey and I both love a classic spinach salad: spinach, sliced button mushrooms, hard-cooked egg, shaved red onion (Petey’s a hold-the-onion man), crispy bacon shards drizzled with freshly made buttermilk ranch.
So, I almost always have some greens in the fridge. But they go wonky quick, and when most leafy greens get past their prime, there isn’t much to do with them, other than adding them to the compost heap. But spinach is different. When I have spinach that’s too shop-worn for salad, I cook it, either sautéed or creamed. 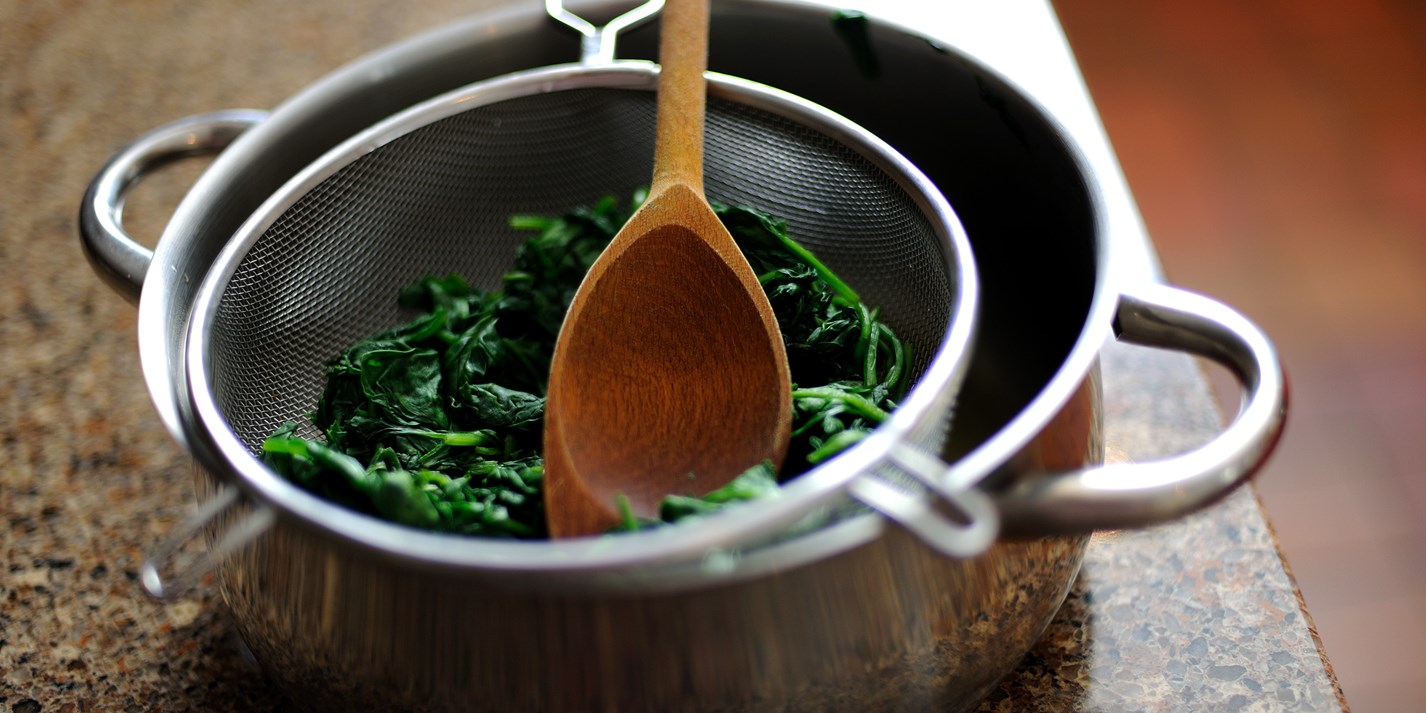 I put it into a large microwave safe bowl, cover it with a paper towel and nuke it until it’s completely wilted; somewhere between 2-4 minutes depending on how much I have. Then I turn it out into a colander to drain and cool.
If I don’t plan on making it right away, I put it in a labeled, dated zip-top bag and freeze it. If you’re not a big salad eater, you could also skip the whole fresh spinach step, and just buy it frozen. 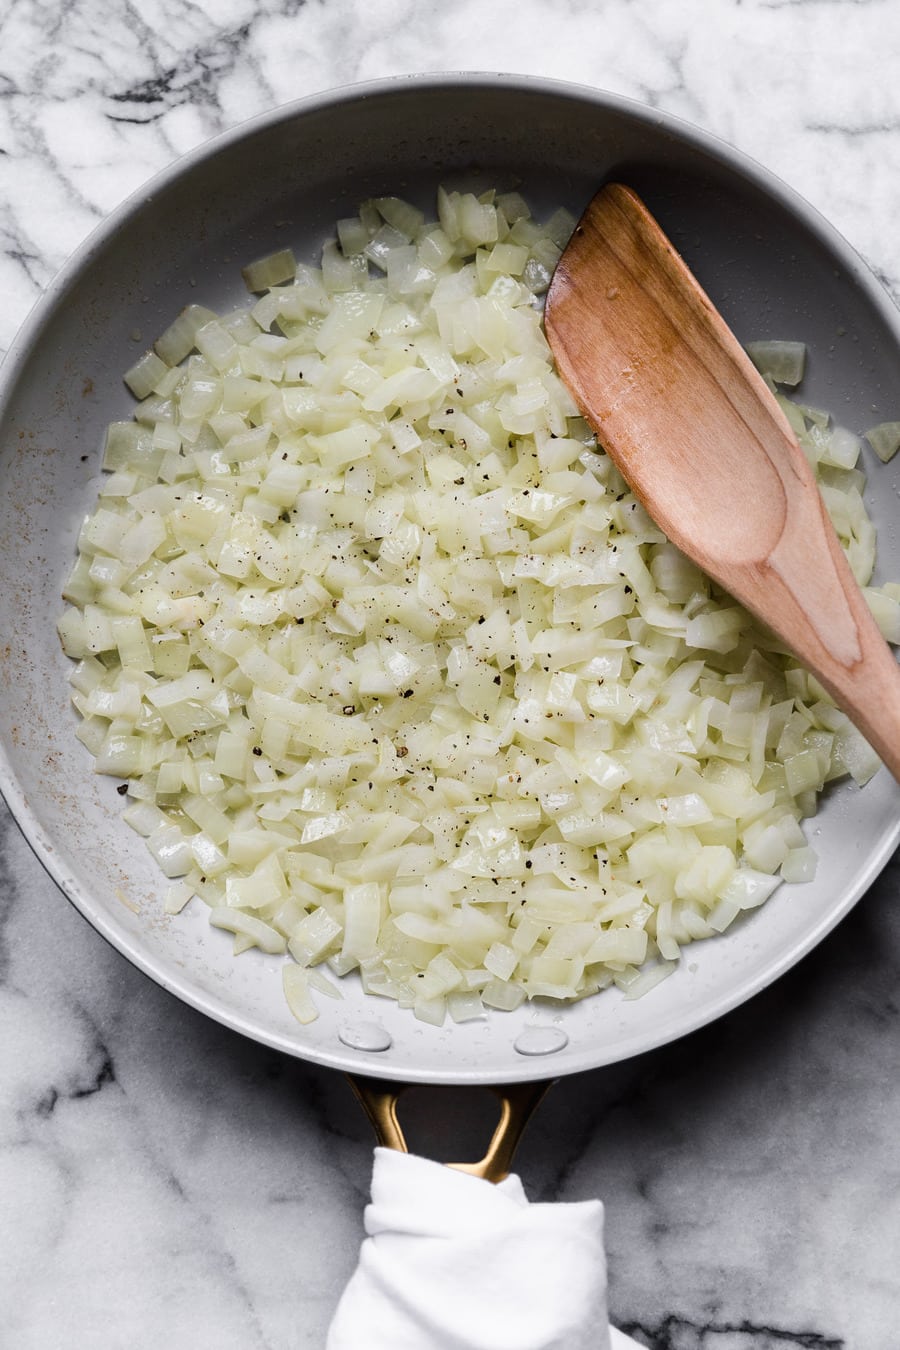 For both sautéed and creamed spinach, you start the same way: onions. Put some butter or oil into a skillet and add chopped onions. Season and cook until they begin to caramelize (the more color on the onions, the sweeter they’ll be, you choose). Then add 2 cups of thawed, wilted spinach that you’ve squeezed most of the water from. Season and add 10-12 gratings of fresh nutmeg. For sautéed, let it cook until it’s mostly dry, and a little browned around the edges. Take off the heat, add the juice of a lemon, check for seasoning, and serve.
 For creamed spinach:
Start like for sautéed, but after adding the spinach, add about 2/3 cup of 2% or skim milk and ¼ cup cream. Season and add nutmeg, then stir in ¼ cup of grated Parmesan cheese (not the stuff in the green can). Let it cook until the spinach is in a nice thick, creamy sauce (about 10 minutes on medium). Take it off the heat and stir in a couple of heaping tablespoons of whipped cream cheese (this will stabilize the sauce). Then stir in the juice of a lemon. Check for seasoning and serve as is, or over a baked russet or sweet potato.
Or. My new favorite thing is to use the creamed spinach in the place of pesto in pasta. Cook the pasta while the spinach is cooking. When the spinach is finished, and the cream cheese and lemon juice are stirred in, transfer the pasta into the spinach pan with a slotted spoon. Don’t drain it, because you’ll then use enough of the pasta water to thin out the spinach, and starch in the water makes the sauce silky and it coats the pasta perfectly. Then top with more parm.
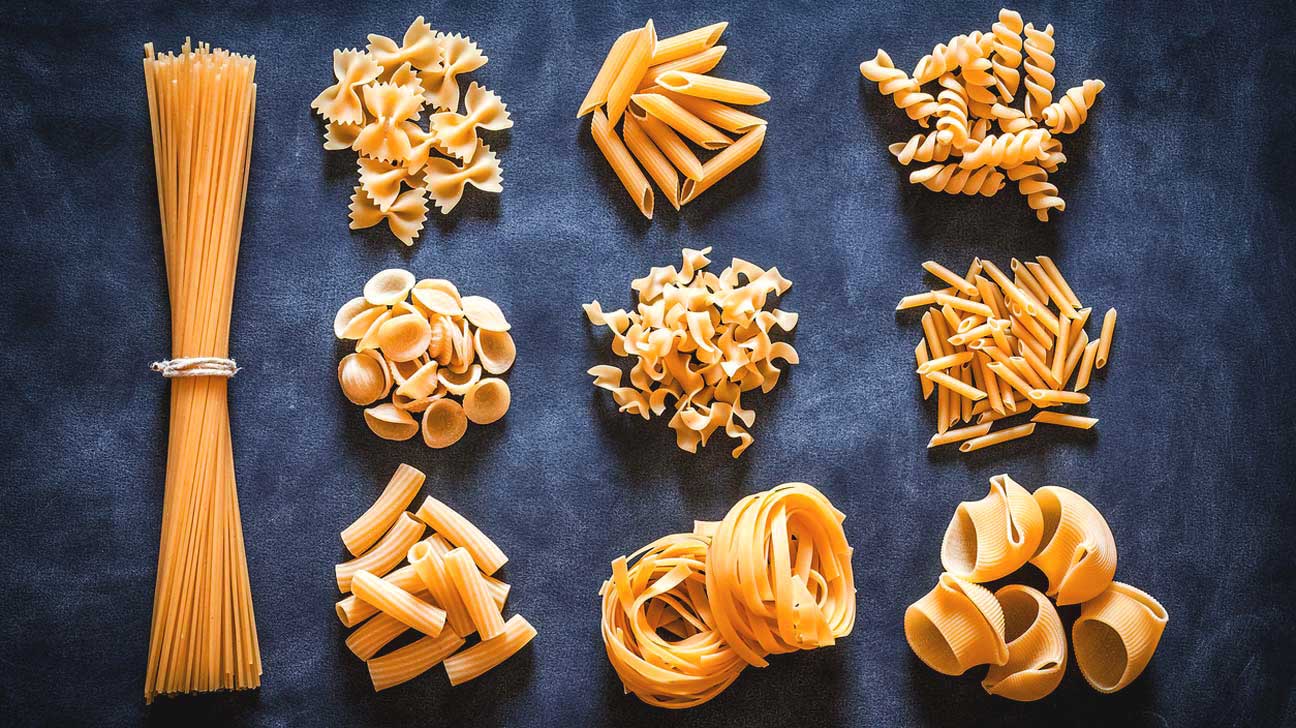 It’s really good, and frankly I’m not sure how this took so long to occur to someone who normally has at least seventy-five varieties of pasta in her kitchen at all times.
Next week I’ll tell you what I got up to tonight with a box of Costco mushrooms and a kitchen full of pasta. Thanks for your time.

 Many years ago, before food blogs, the explosion of food writing, and even mass usage of the interwebs, I read a column in my local newspaper. It was about onions.
 The story began with his daughter coming home on a break. And she immediately dove into the refrigerator. She pulled out a jar of this dark brown marmalade-like substance that was obviously homemade. It intrigued, but was completely unknown.
 When she asked him, he informed her it was caramelized onion jam. That it was incredibly easy but took hours to prepare. That it might resemble run of the mill fried onions but it was so, so much more.
 Peel the onions, cut them in half and slice into ¼ inch half-moons. Put them all into large, heavy Dutch oven with tightly fitted lid. Pour in oil. Add salt, pepper, and thyme.
  Stir together to coat. Place on stove and turn to 2-3 or medium-low. Cover and cook for about 20 minutes. You’re looking to get all the water out of the onions. Uncover, give it a stir, and take a look. If it’s not ready, recover and cook more, checking every 10 minutes or so.
 When the onions are wilted-looking, and swimming in an inch or two of liquid, uncover.
 Turn burner up to just over medium (6-ish). Let the pan heat up, then pour in the Marsala. Scrape up browned bits on the pan bottom and cook wine is gone and the jam is a nice deep caramel color. Taste and re-season, if necessary.
  The jam is really good on burgers and grilled cheese. Use as a flavoring in mayo, humus, or salad dressing. Replace regular onions in smothered pork chops or country-style steak. Can you say, French Onion Soup? And I love it on pizza, and a million other things.
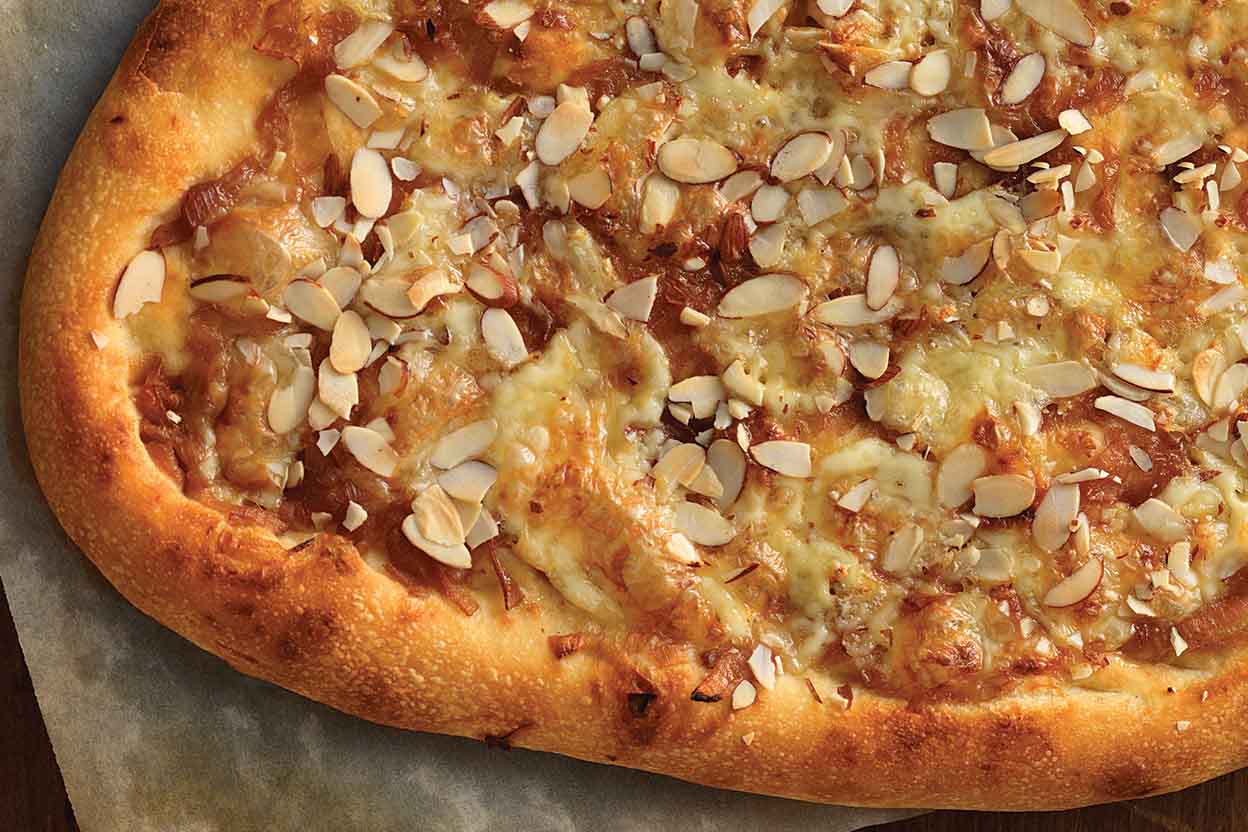 One word of caution: a little goes a very long way, don’t go overboard. And this is coming from someone who loves onions. It is possible to use too much—so start light, taste, and add more if needed.
 Thanks for your time.
 It would be really easy for me to give you the polite, for-company explanation; “Petey worked 7P-7A for so many years, it reset our circadian rhythms.
 From the day I was born (in the late afternoon, I might add), mornings and I have had a sincerely adversarial relationship. 1AM is the shank of the evening, and my morning does not comfortably start until at least 12-1PM.
 It’s just how I’m built. I worked 7A-3P in a hospital lab for a year. People told me that after a while, I’d get used to it and become a morning person. I hated and dreaded every single day of it.
 Luckily, Petey has a matching loose screw. We actually take turns getting up early (for us); first with our child, and now with our dog.
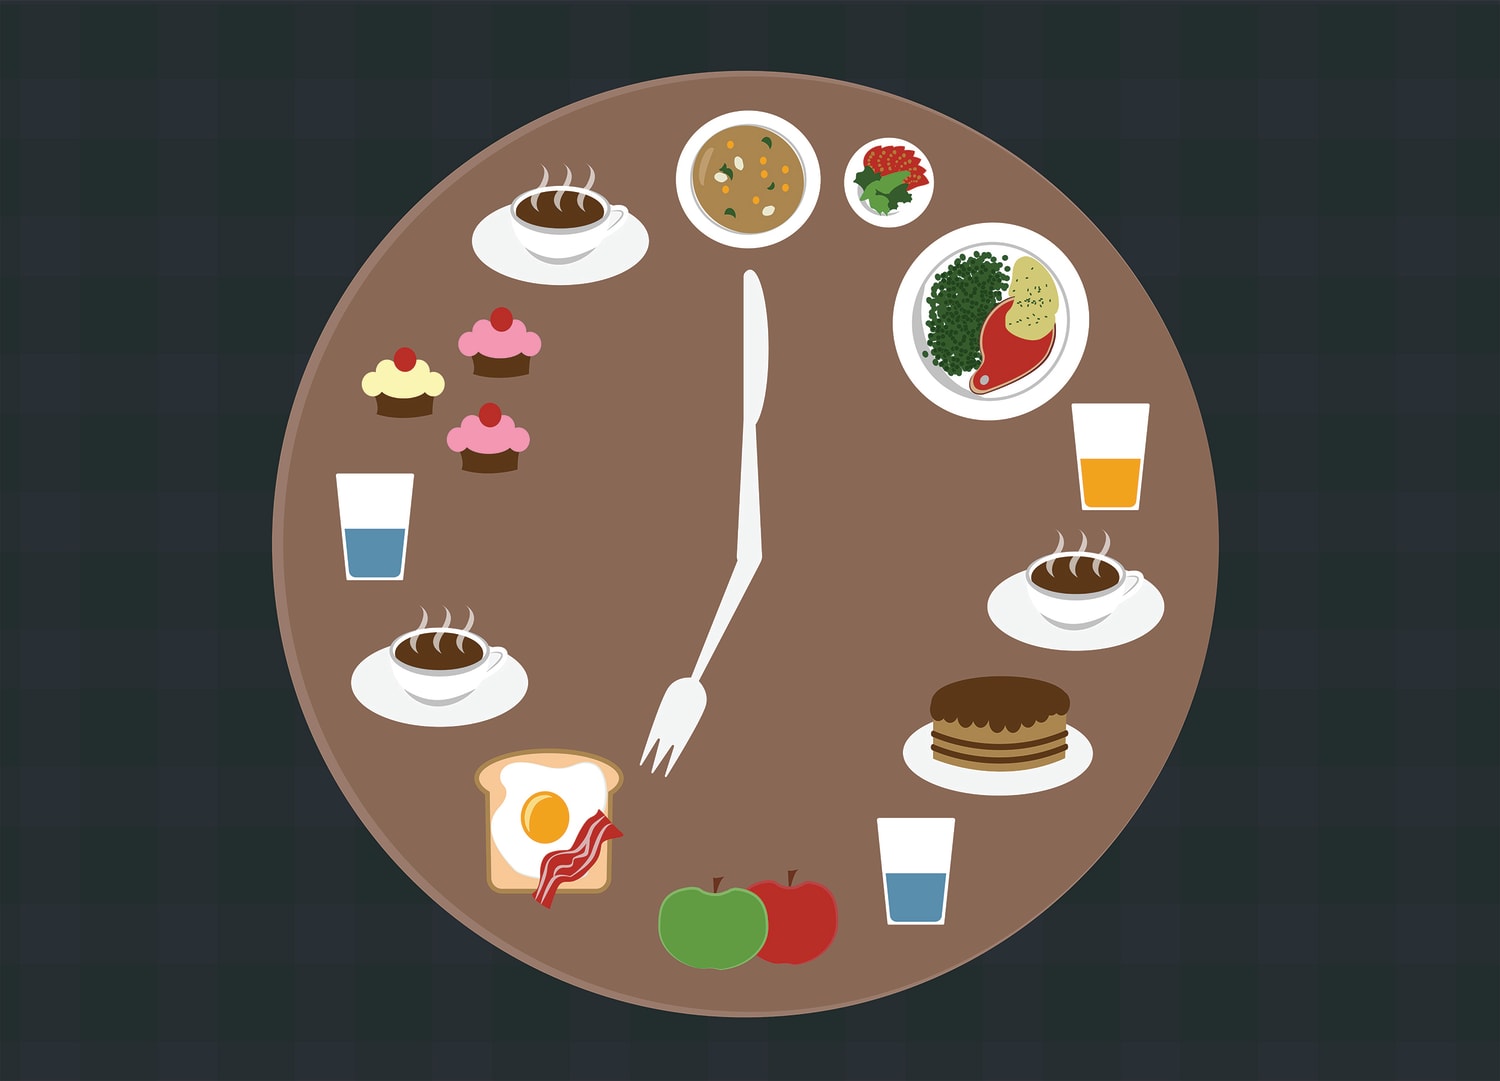 Breakfast for dinner, though, I have no problem naming. Heck, I love breakfast for dinner so much, I’d happily call it Fred.
 So, here are a few tips and methods that will make your breakfast for dinner a treat, and not a penance.
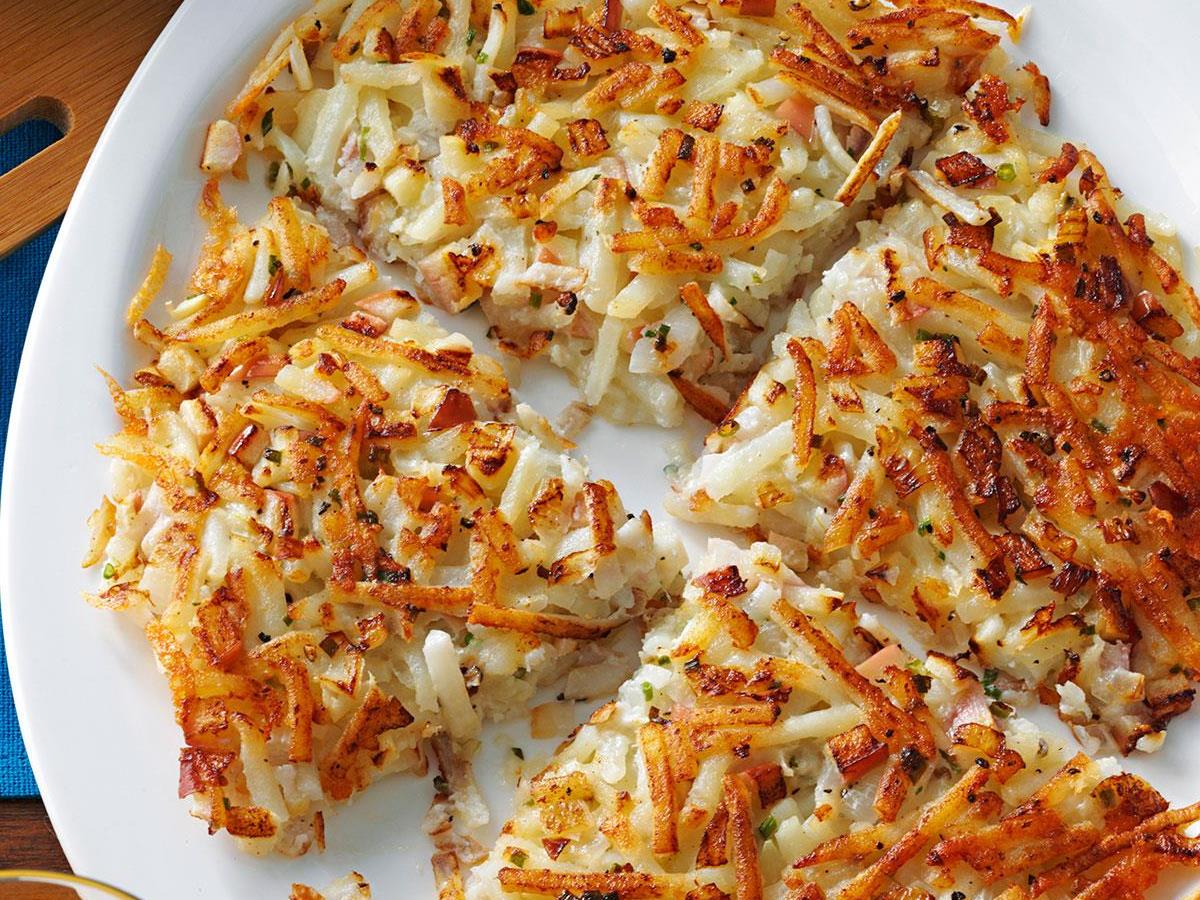 2.) Hash browns; melt butter in a skillet, then toss shredded potatoes and onions in butter to coat. Cook in a flat cake, flip when browned, and cook on the other side. At a stove-top setting of 3.5-4, they should take about 15-20 minutes to cook.
 4.) If you take nothing else from this epistle, clean up as you go along. Breakfast can make a mess of your kitchen. Keep your counters cleared and wiped. Throw food waste in the compost or trash can right away, not the sink—that stops the quick rinsing and washing up that will save your sanity. Get your prep work done and cleaned up before cooking anything. Set your table and have beverages and condiments ready. If you use a dishwasher, have it empty and ready to receive the oncoming storm.
 So, call it breakfast for dinner, call it Fred, call it Agent Colson, just don’t forget to call me when it’s on the menu.


 But, this meant there was one parent who could be called to the base in an emergency with no idea when he would return home. Because of this, my mother was a stay-at-home mom.
/easy-chocolate-oatmeal-no-bake-cookies-3058522-hero-01-5c19116e46e0fb000129552f.jpg) Simple, cheap, tasty things from stuff we usually had in the house, like bread pudding, popsicles from Jell-O, preacher cookies, and cream puffs. One of our favorites was her wacky cake that she topped with fudge frosting.
Simple, cheap, tasty things from stuff we usually had in the house, like bread pudding, popsicles from Jell-O, preacher cookies, and cream puffs. One of our favorites was her wacky cake that she topped with fudge frosting. One awesome thing about my mom: she believes it’s perfectly acceptable to have pie, cake, or even rice crispy treats for breakfast (See? Awesome.). Occasionally Mom would splurge on a specific store-bought treat for weekend breakfast.
 Recently I stumbled upon a vanilla version of my mother’s wacky cake. Adding cinnamon makes it more similar to those orange rolls. Last fall I went to Fearrington Village farmer’s market and met Nathan Simons, who with his wife Audrey, creates silky, flavored nut butters. My favorite is their hazelnut/orange. Which reminds me of those canned orange rolls, but in the very best, most delicious way.
 Find Simons Says Nut Butters at
  1 & 1/2 cups + 3 tablespoons all-purpose flour
 1 & 1/2 cups sugar
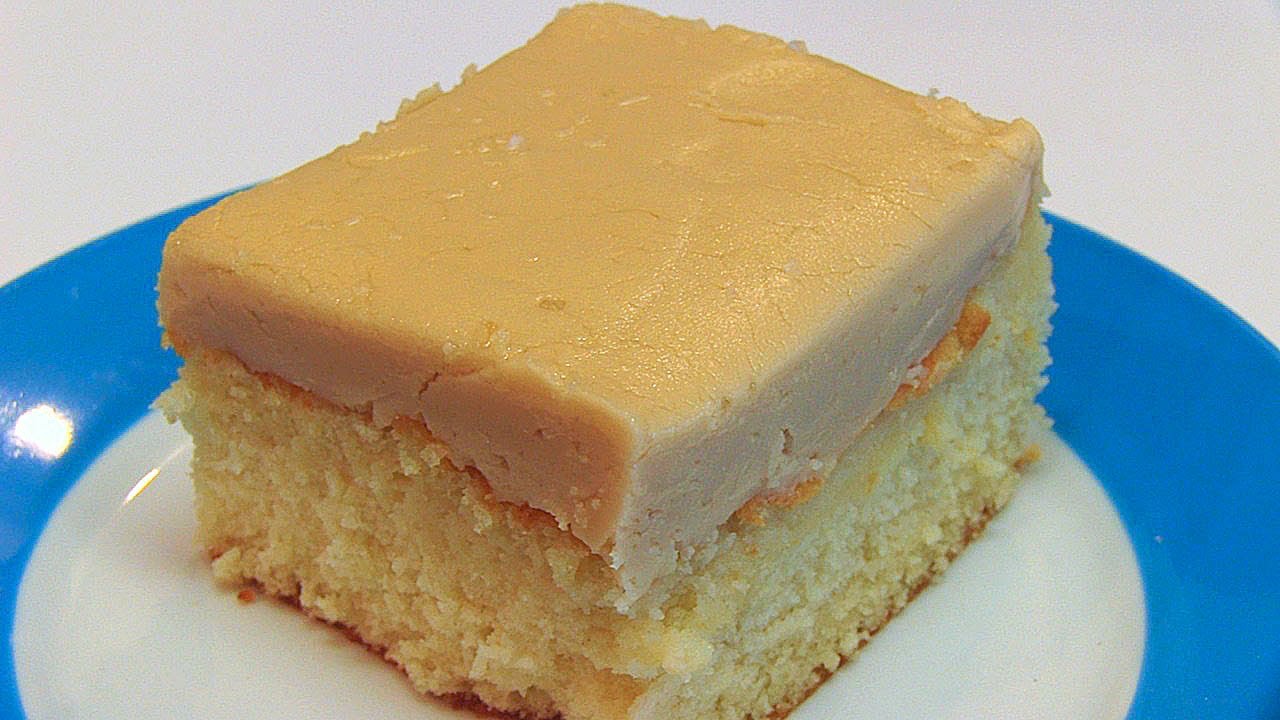 The Kid will tell anybody who asks, Grampa’s a superhero. The Kid’s not far off. If you know someone who served their country in the Coast Guard or another branch, say thanks. Or better yet, give them a piece of this cake.
 Thanks for your time.
 My mother would be convinced that the veggies were burnt and should be discarded. This would result in my father running over to Food Lion to acquire more microwavable veggies as the family sits around the dinner table and Mom frets about everything getting cold and dried out.
 If her baked macaroni and cheese has brown spots on the top, it’s burned. If rolls go beyond the lightest of caramel-color, they’re burned. And if veggies get a barely perceptible touch of char, they’re burned and ruined.
 The Maillard (my-yard) reaction is when amino acids and sugars mix with heat and to a certain extent, pressure, making those delicious, delicious brown markings on food.
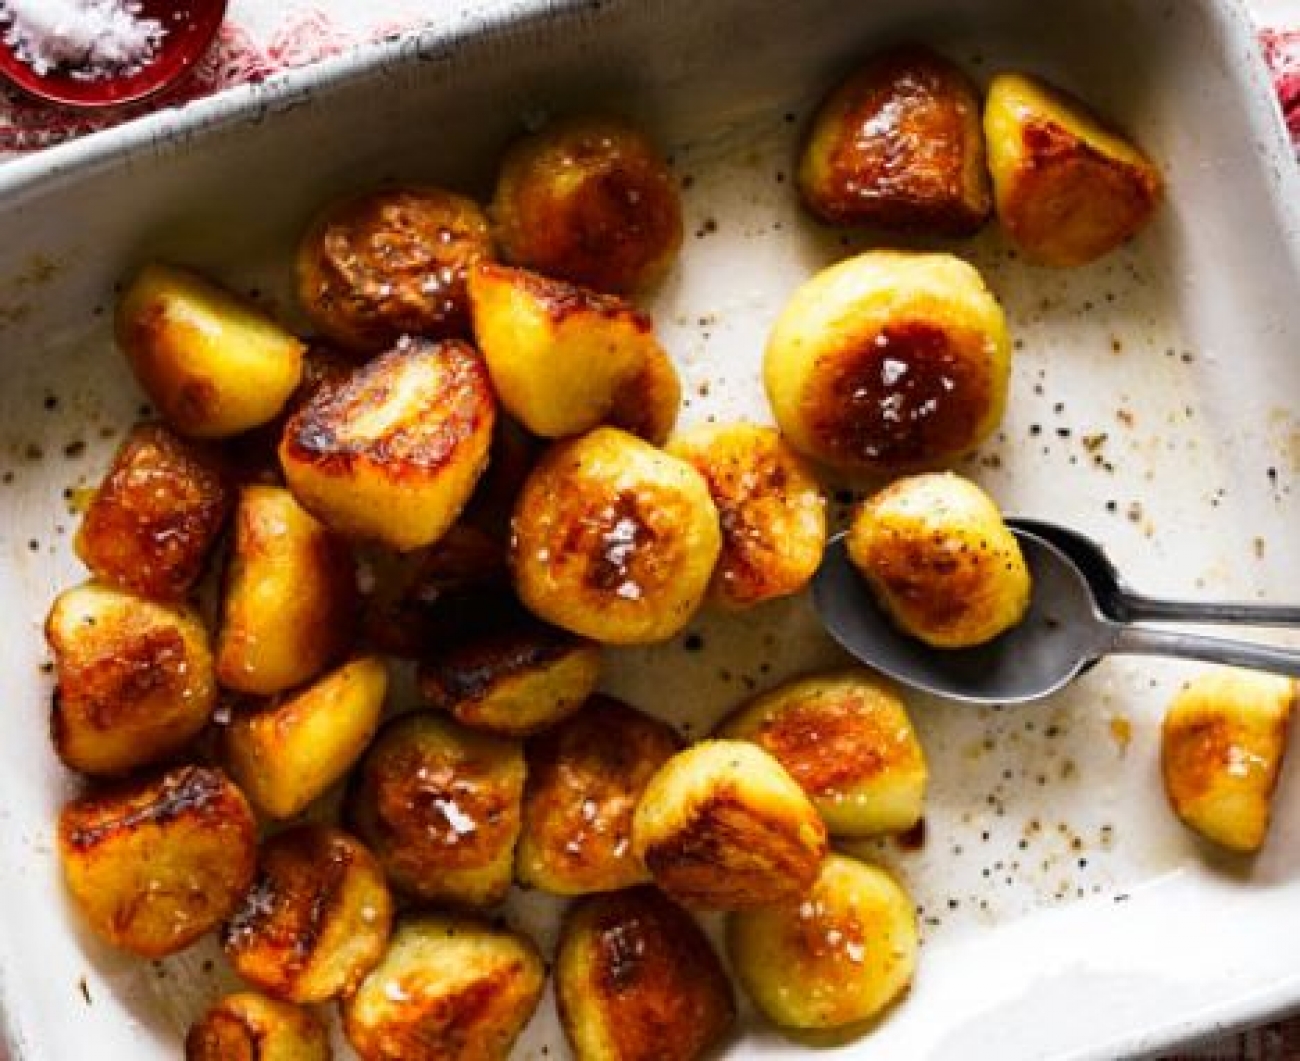 Due to exposure to my mom’s brown food aversion, and my own, near-certifiable level of impatience, I came exceedingly late to the brown food fan club.
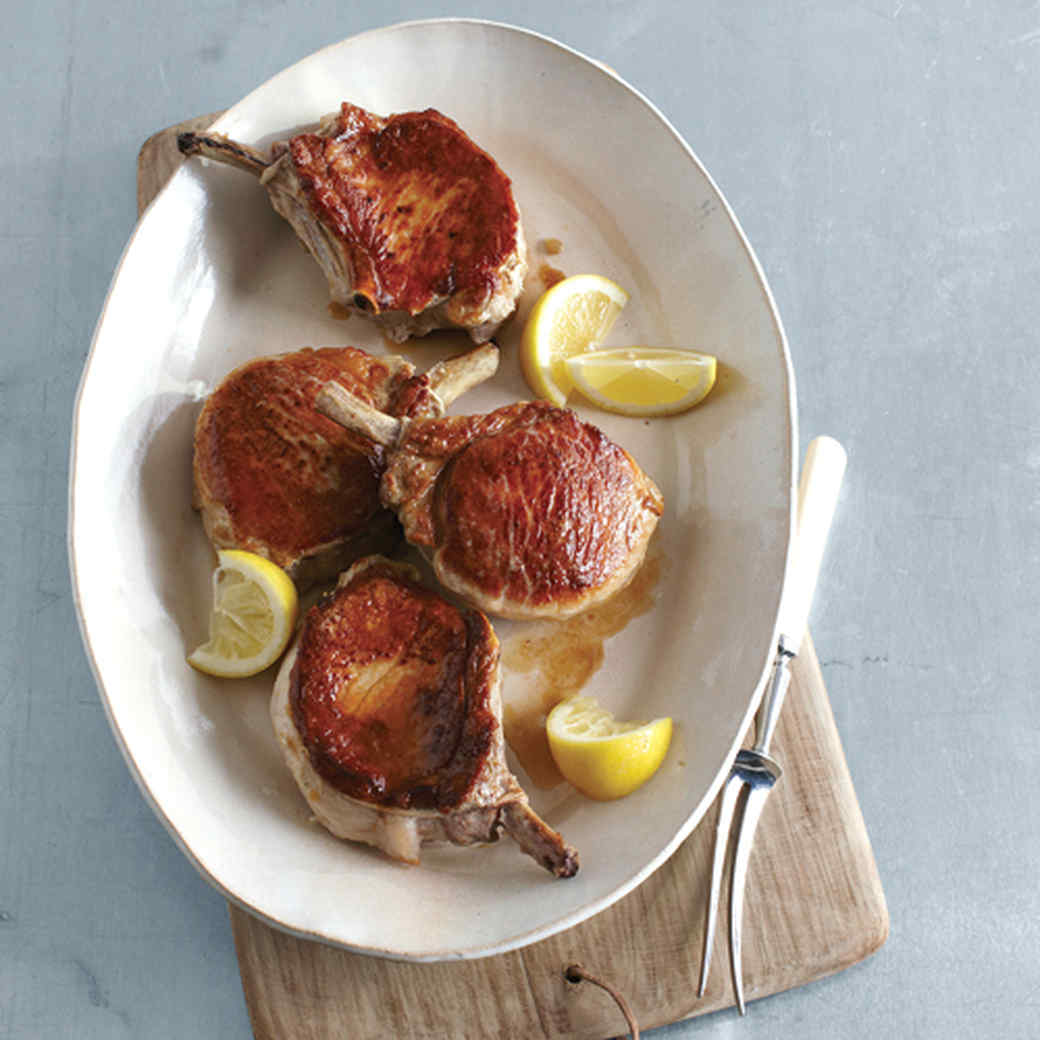 All you need is a metal pan (a cast iron is best here) that’s screaming hot and a little oil. Dry both sides of the meat, put the thinnest coats of oil on it, then season both sides. Place the pieces in the pan without crowding them, which will steam them, rather than sear. They should be no closer than ½ inch. And the more contact meat makes to hot surface, the more of it will be brown.
 Brown veggies though, are my newest obsession.
 When the cauliflower was heated through, I uncovered the pan and turned it up to about 6. There was a little water in the skillet from the veg which I wanted to cook off. This is where I had the happy accident.
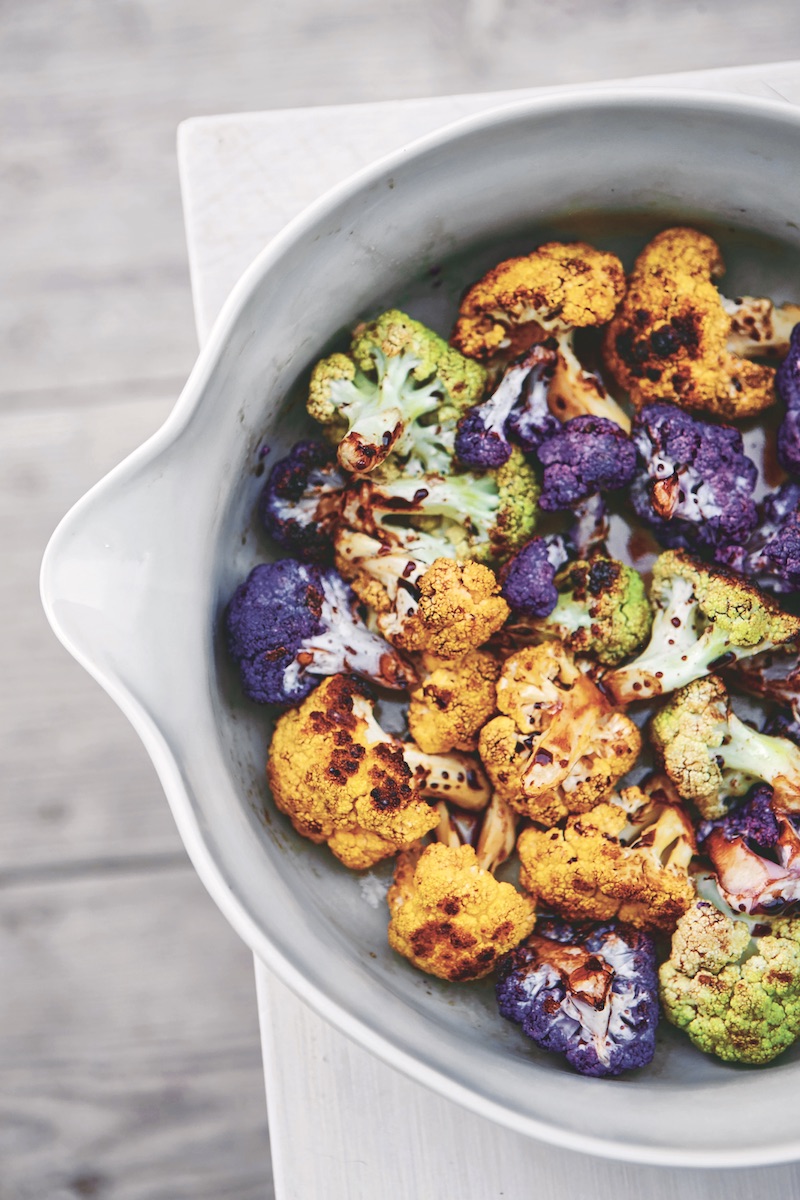 When I got back to it, it had developed beautiful browning. In the past, I never cooked vegetables until they picked up color. But, instead of deciding it was burned and discarding it, I just flipped it to expose another part to the pan.
 You can do this with both frozen and fresh. But it must be a harder veg, like broccoli, cauliflower, or carrots. A more tender veggie like peas, will turn gray. So cook them gently, then roll them in brown butter. They’ll pick up the maillard flavor without going all elementary school cafeteria food on you.
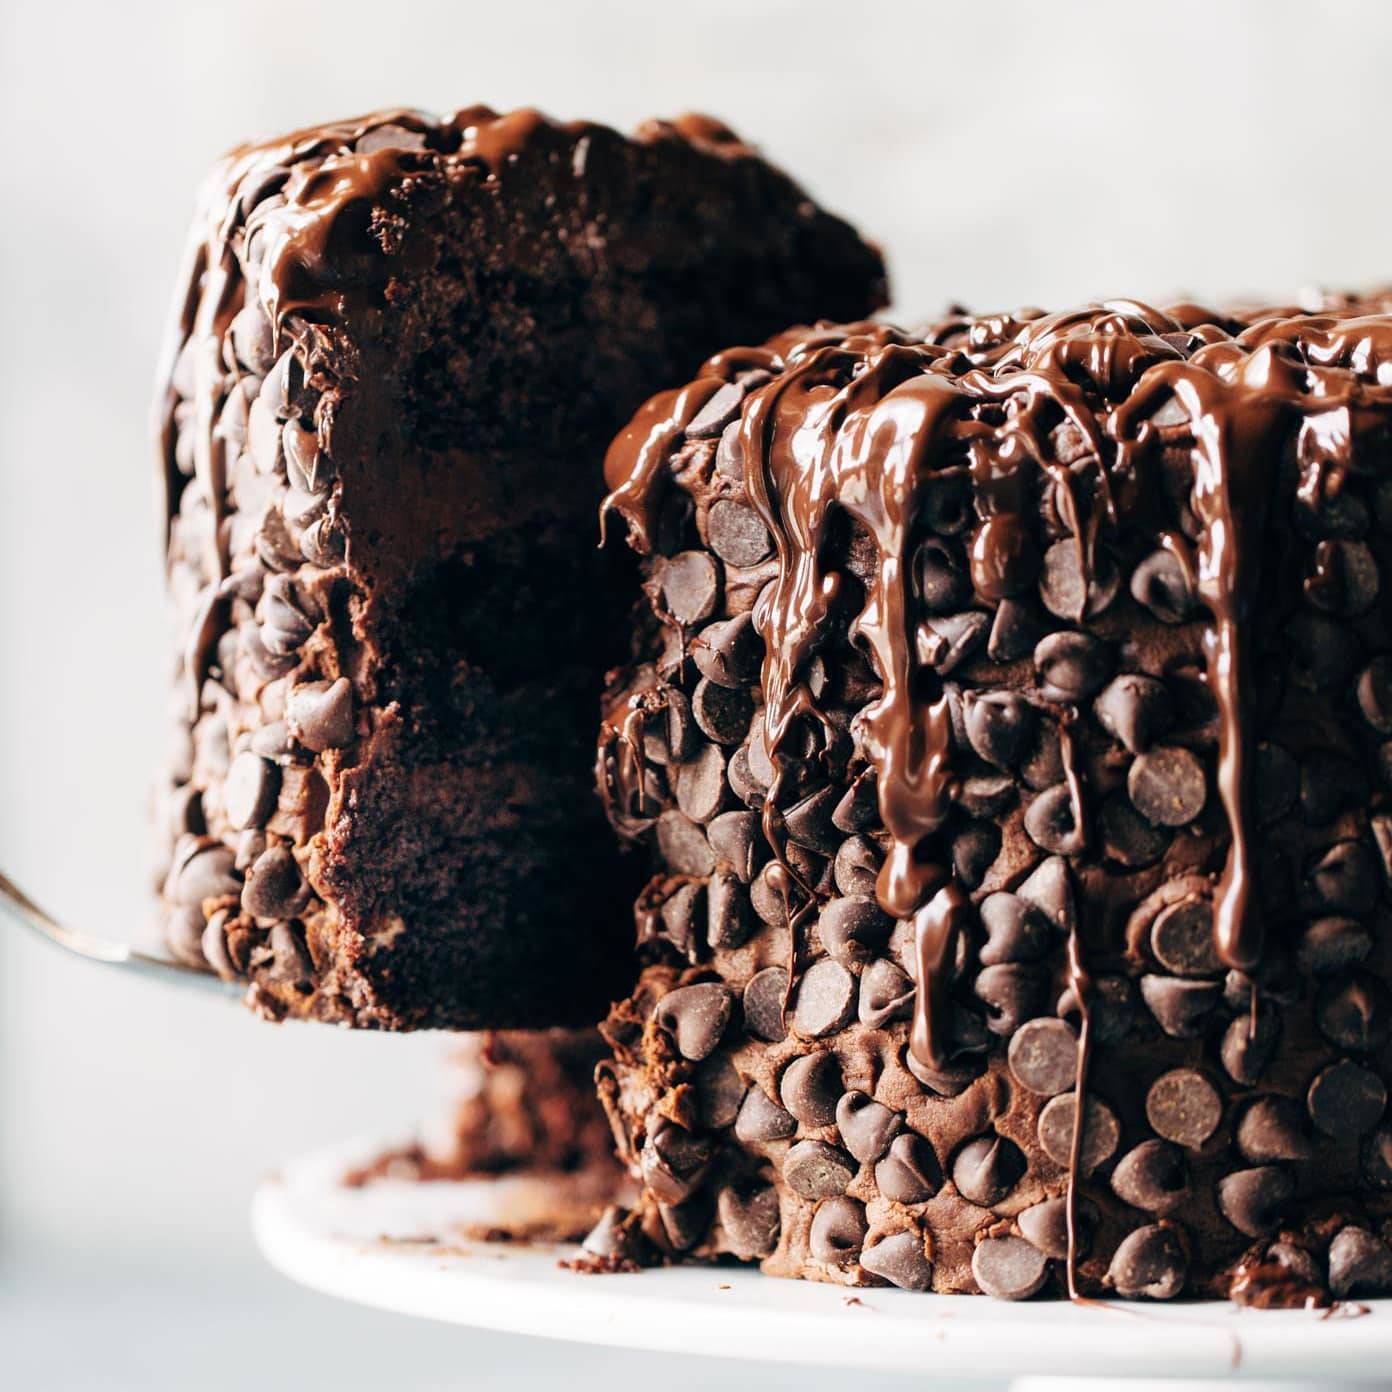 And, not burnt.
 If you’ve ever wondered how long fudge can stay in the freezer, I have the answer.
 Well, it’s a life-size model of my sweet tooth.
 At the state fair, All-American Fudge makes a stellar example. It’s better than any old-school version I could make, so I let them do it. Every year I buy two pounds, bring it home, triple-wrap and freeze it. I then ration it like it’s the very last pizza at a Super Bowl party.
 But.
But.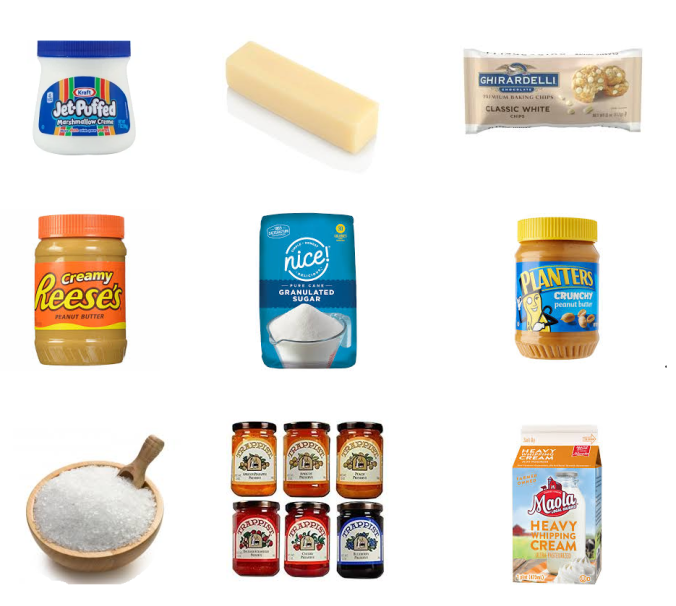 1 7-ounce jar marshmallow cream
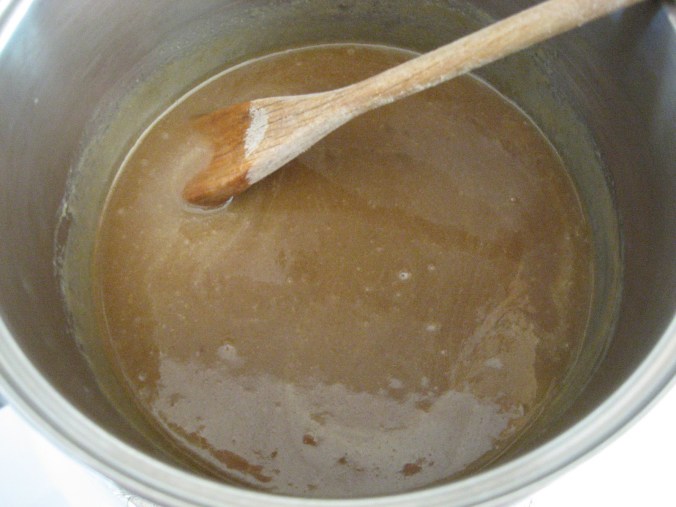 In large saucepan, combine butter, sugar, salt, and whipping cream. Bring to boil over medium-high heat. Boil for 4 full minutes.
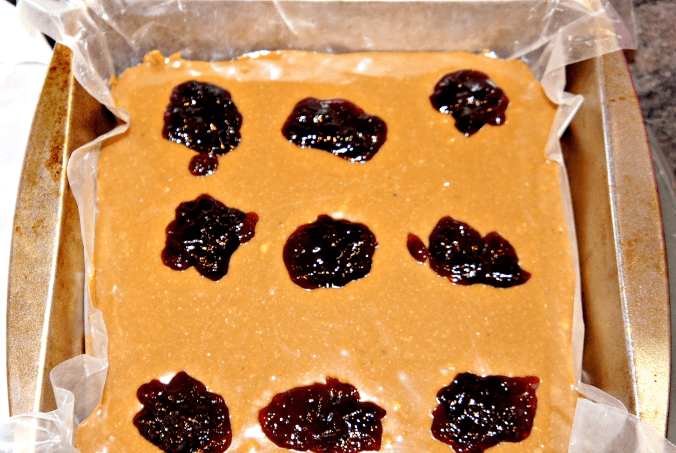 Pour half of mixture into baking dish. Drop spoonsful of jam. Using a knife, lightly swirl into the fudge. Top with remaining fudge and dollops of the rest of the preserves. Gently swirl again with knife, just until marbled.
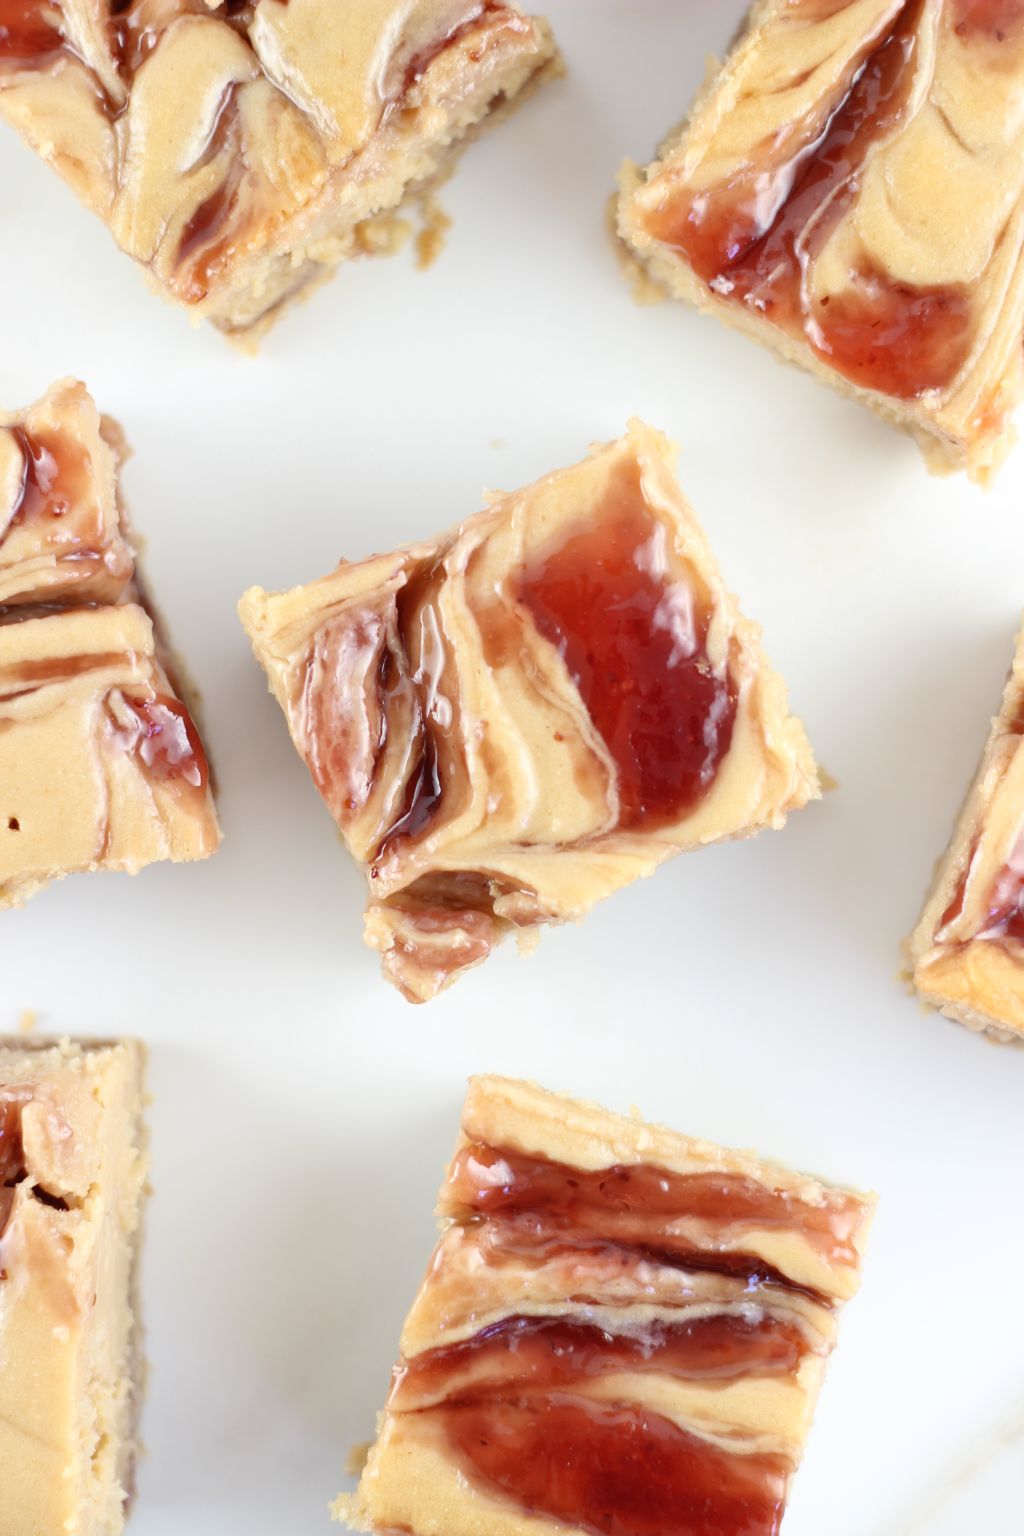 Refrigerate 4 hours, or overnight, until set. Cut into bites. Store in airtight container in refrigerator up to a week.
 3 cups sugar
 The secret to this is to boil exactly 3 minutes. Use a timer. I’m not joking.
 What a bummer.