I’ve never been a girl for double starches.
With very few exceptions (mainly relating to those freewheeling, chaotic, tradition-dictated holiday meals), double starch is a bad idea.
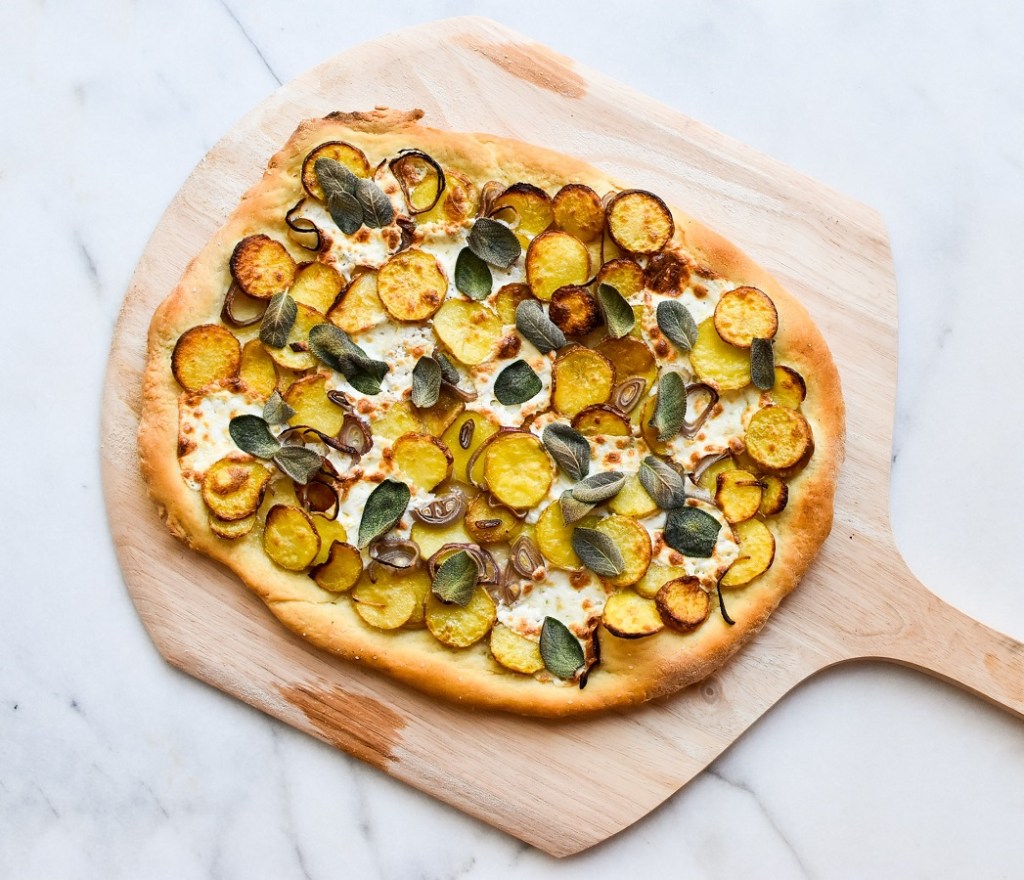
What even is potato pizza? It’s as ridiculous as pineapple pizza.
But really, there’s a reason why we don’t have mashed potatoes with our grits, or tater tots on our sandwiches, or noodles and rice.
Completely unnecessary.
But.
Many Middle-Eastern cultures enjoy a side dish of rice with short pieces of pasta in it. And, there’s a nifty little San Francisco treat that Petey and I and make from scratch now.
The other day I had a starchy epiphany.

I was inventorying my pasta supplies.
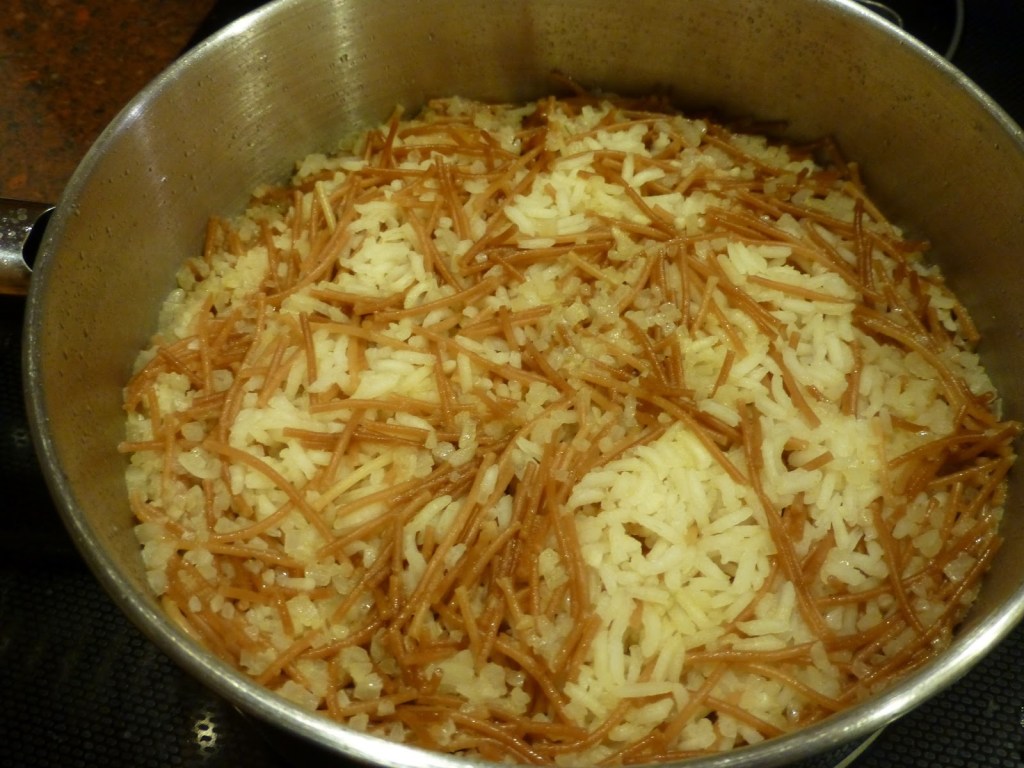
I discovered I had about three bags of a Mexican pasta that’s sold in all the grocery stores; La Moderna. The bags I had were fideo, angel hair pasta about 1 ½ inches long. It costs between thirty-three and fifty cents a bag.
So I thought the next time we needed a starch, I’d do a rice/fideo combo, like Rice-A-Roni, and the Lebanese dish.
I made it to go with a pot of field peas with snaps and chicken. It was really good—Petey had seconds, which is the best endorsement of any experimental dish.
We had a ton left, and while I cleaned up the kitchen, I tasted the roni-rice by itself. The toasting and butter it was cooked in gave it big flavor, even by itself.

So here’s the thing.
It’s cheap and easy. It’s tasty with a variety of partners. And, it can become a new player in a very tired, overdone list of starches.
I’ve gotta say, those San Franciscans aren’t messing around when they call it a treat.

Thanks for your time.
Contact debbie at d@bullcity.mom.
Roni-Rice™

1 cup long-grain, Basmati, or Jasmine rice
1 cup fideo
2 tablespoons butter, divided
4 cups water
½ teaspoon kosher salt
¼ teaspoon cracked pepper
¼ teaspoon dried thyme
Heat a large skillet and add 1 tablespoon of butter. When it has melted and gets a little foamy, add the rice, then sprinkle ½ the salt and pepper. Add thyme. Stir to combine.
Be very gentle with the rice, if you are too abrupt, the rice will break up and you will have a gruel-like texture which is not appealing.
Stirring occasionally (and gently), let rice toast and brown (about 8 minutes). When lightly browned and aromatic, pour from skillet to a large heavy saucepan or Dutch oven.
Repeat with the fideo, omitting thyme (5 minutes). The fideo will burn quickly, so watch it carefully and gently toss often.
When both are toasted, add the water to the pot and bring to a boil. Cover and turn to medium-low. Cook for 15-17 minutes or until the water has cooked in, and the rice and noodles are completely cooked through.
Recover pot and let sit, undisturbed for 10-15 minutes.
Fluff gently with a large fork and serve. Serves 6. Serve it with something like,
Brown Butter Bechamel with Spinach and Shallots

After the roni-rice has finished cooking, add 1 5ounce bag of fresh baby spinach. It will wilt and can then be mixed in before service.
Bechamel
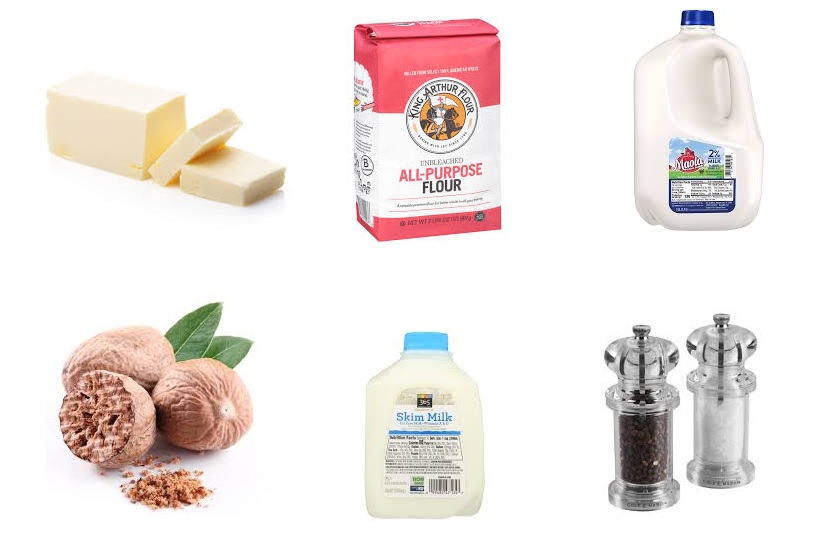
½ cup butter
½ cup flour
3 cups 2% milk
½ cup skim milk
15 passes of a fresh nutmeg on a grater
Salt and pepper to taste
In a heavy saucepan, melt butter. Let it cook until it turns brown and nutty (5 minutes). Stir in flour and when it’s homogeneous, slowly pour in dairy. Whisk continuously until it comes to a gentle boil. Remove from heat. Either mix in roni-rice or spoon over each serving.

 I spent the last couple of weeks prodding The Kid to purchase a Father’s Day gift for paterfamilias Petey.
 In the entire twenty-seven years that our offspring’s been on the planet, I’m guessing my spouse has spent a grand total of three to five minutes doing the same for Mother’s Day
 Guys are lucky. They’re lucky we make a fuss for them, and they’re lucky that we, sadly, expect and accept much less fuss in return.

 1 cup toasted pecan halves with ½ teaspoon vanilla extract stirred in while still warm from toasting
 Press it evenly into bottom of prepared pan. With straight edge cut down into dough for eight lines in one direction, and three on the other, making 24 shortbread bars. With floured fork, prick each finger length-wise down the center of each bar. Bake until lightly golden, 30-35 minutes.
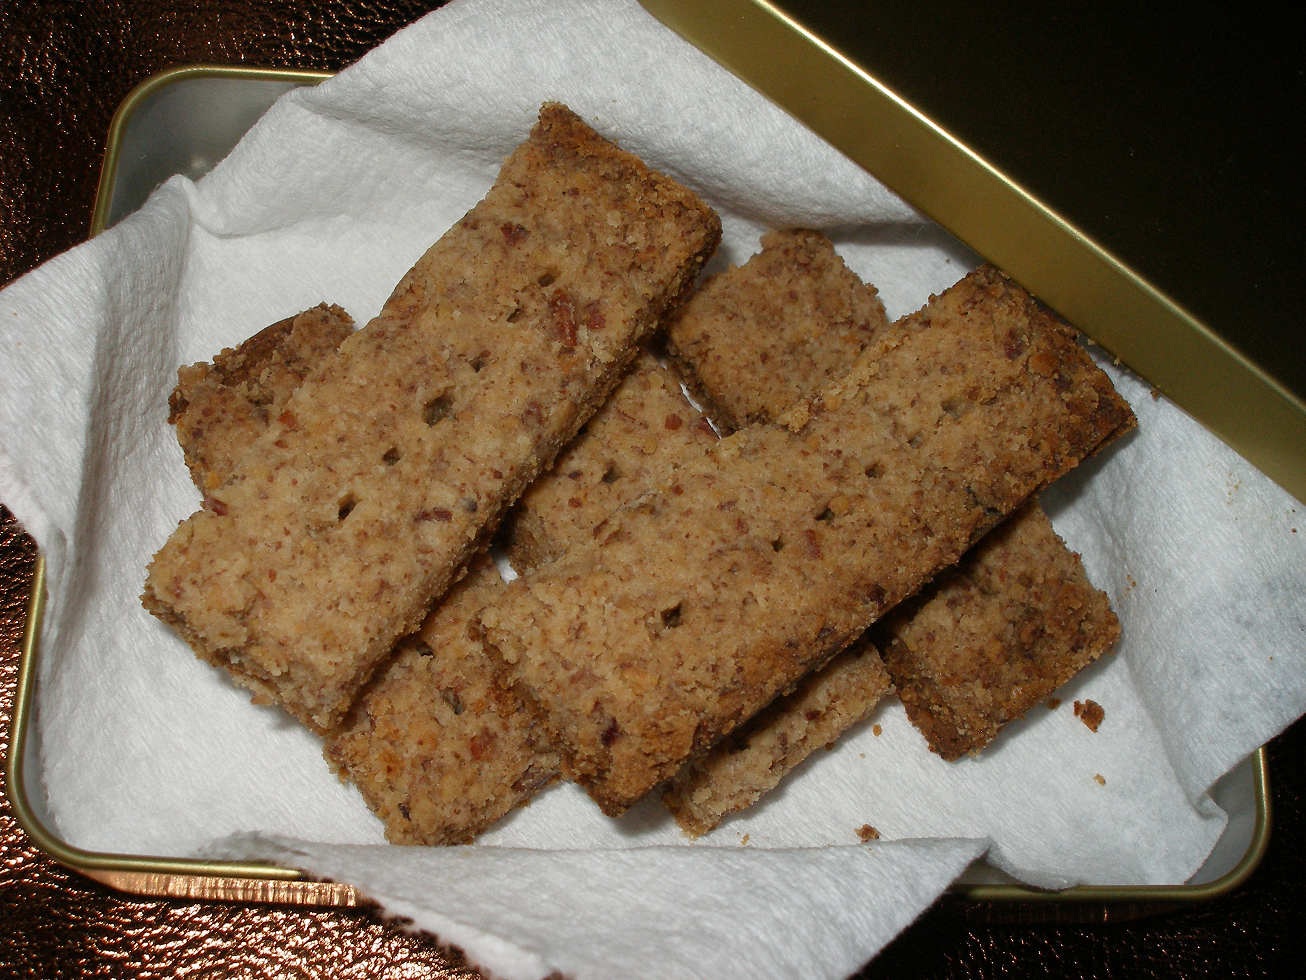 Cool 5 minutes in pan. Use foil to lift shortbread from pan onto cutting board. With serrated knife, carefully separate warm shortbread into the 24 pieces. Remove from foil; cool bars completely before drizzling.
 4 ounces white chocolate with at least 31% cocoa butter
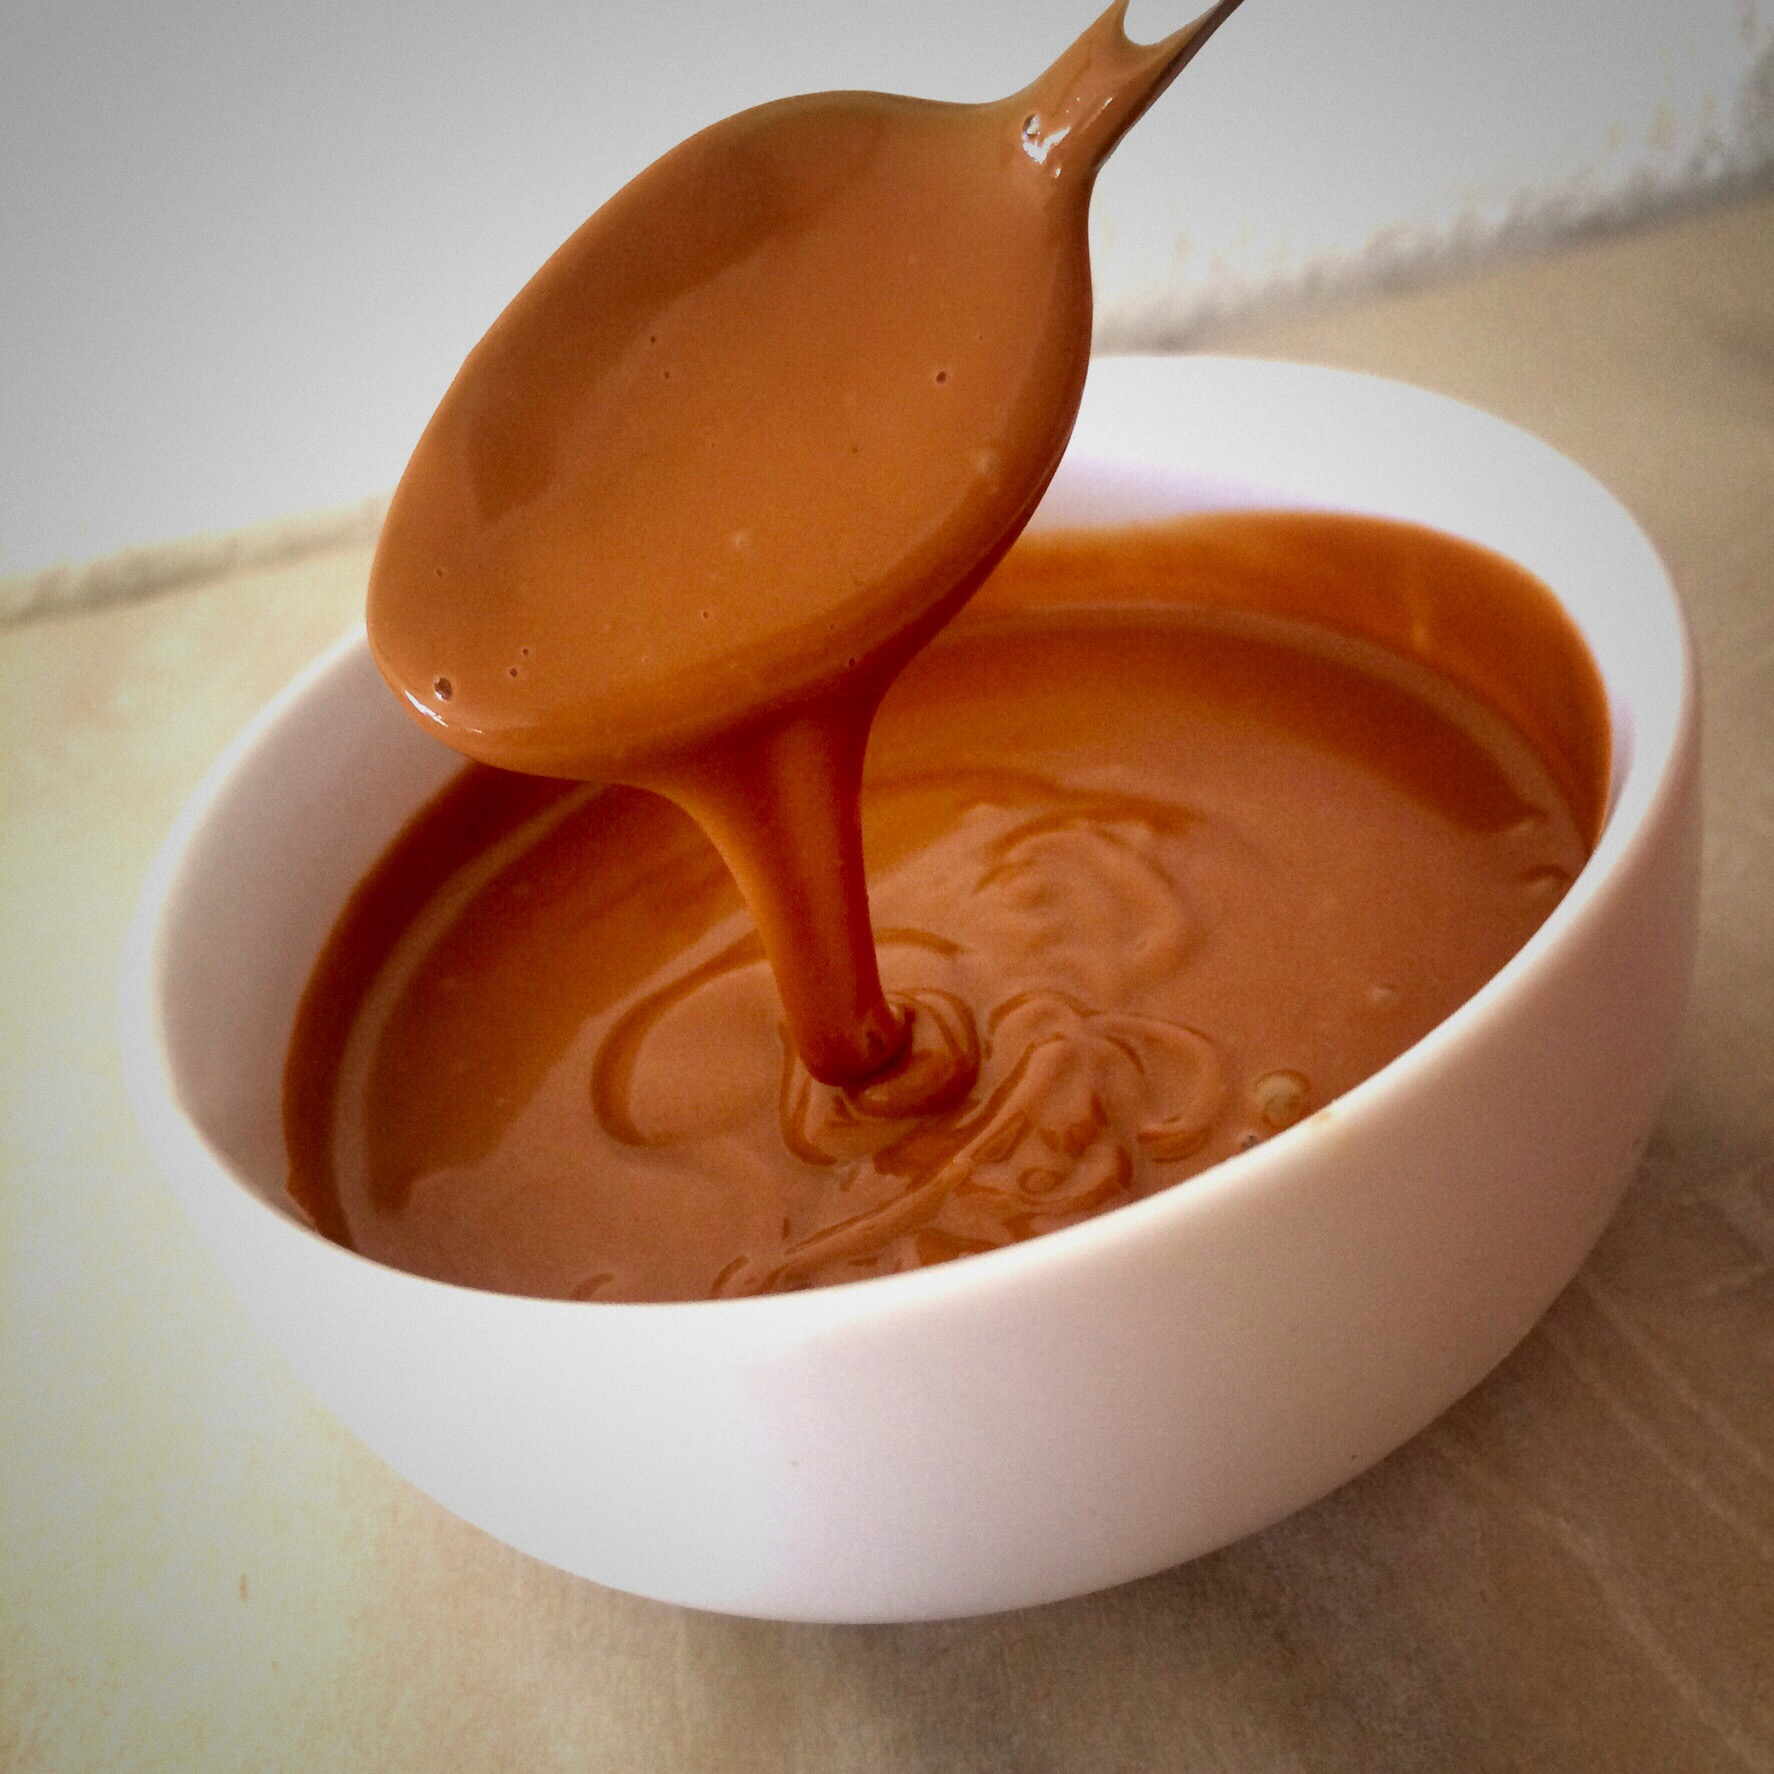 Preheat oven to 250. Place white chocolate in small, shallow oven-proof dish. Cook 10 minutes, then remove and stir. Continue cooking, stirring every ten minutes, until chocolate has turned the color of peanut butter (50-60 minutes). If it gets stiff as it roasts, pour in a little oil, then stir some more. Keep adding oil, a few drops at a time and stirring until it becomes silky smooth. When chocolate is browned and smooth drizzle over the shortbread and let set before serving.
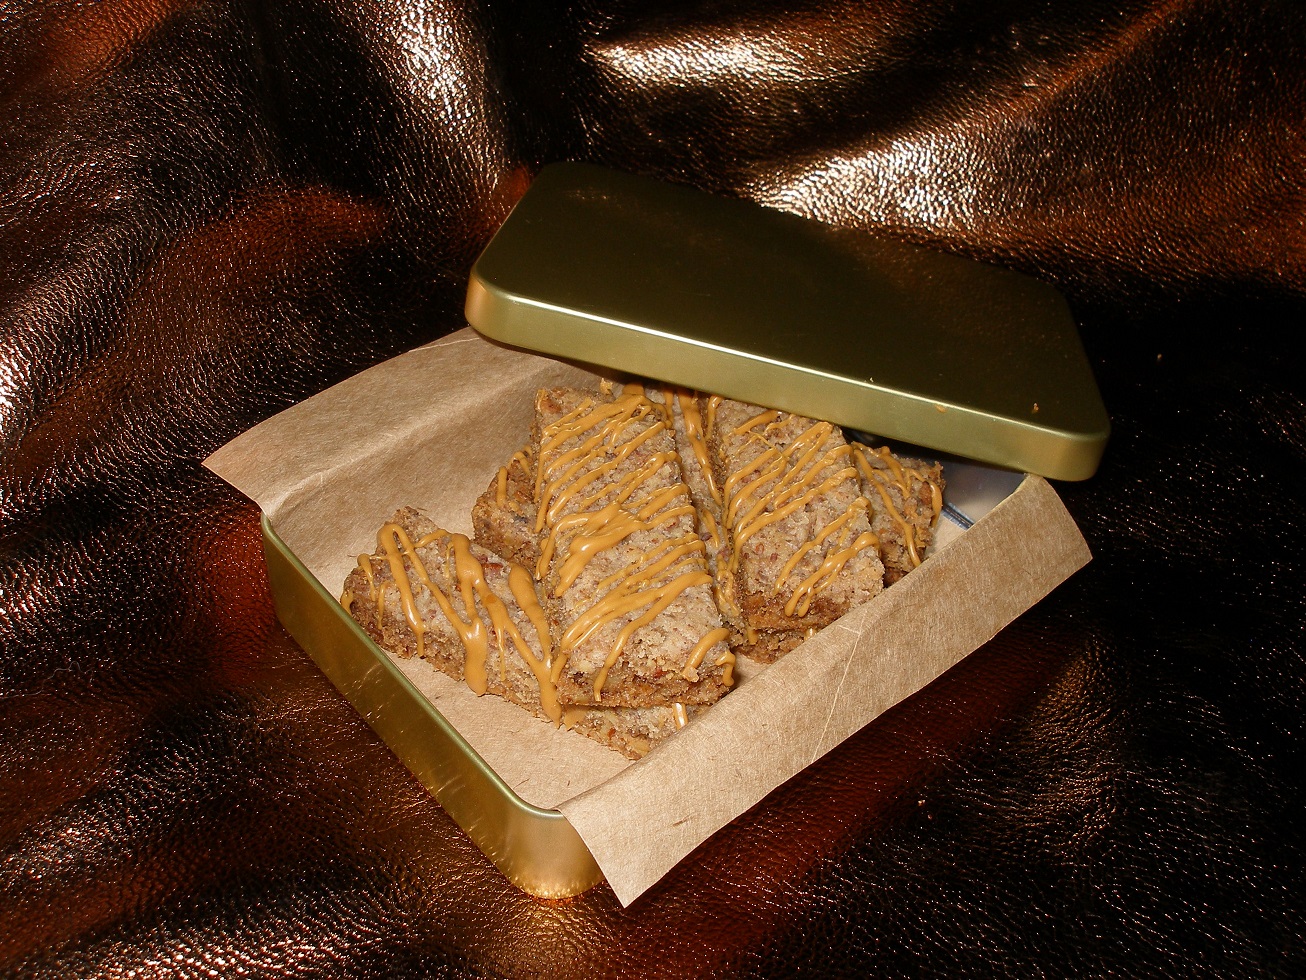 If desired, sprinkle a tiny pinch of the sea salt right after drizzling. Keep covered in a cool place for up to one week or freeze for up to a month.
 Thanks for your time.
 My mother would be convinced that the veggies were burnt and should be discarded. This would result in my father running over to Food Lion to acquire more microwavable veggies as the family sits around the dinner table and Mom frets about everything getting cold and dried out.
 If her baked macaroni and cheese has brown spots on the top, it’s burned. If rolls go beyond the lightest of caramel-color, they’re burned. And if veggies get a barely perceptible touch of char, they’re burned and ruined.
 The Maillard (my-yard) reaction is when amino acids and sugars mix with heat and to a certain extent, pressure, making those delicious, delicious brown markings on food.
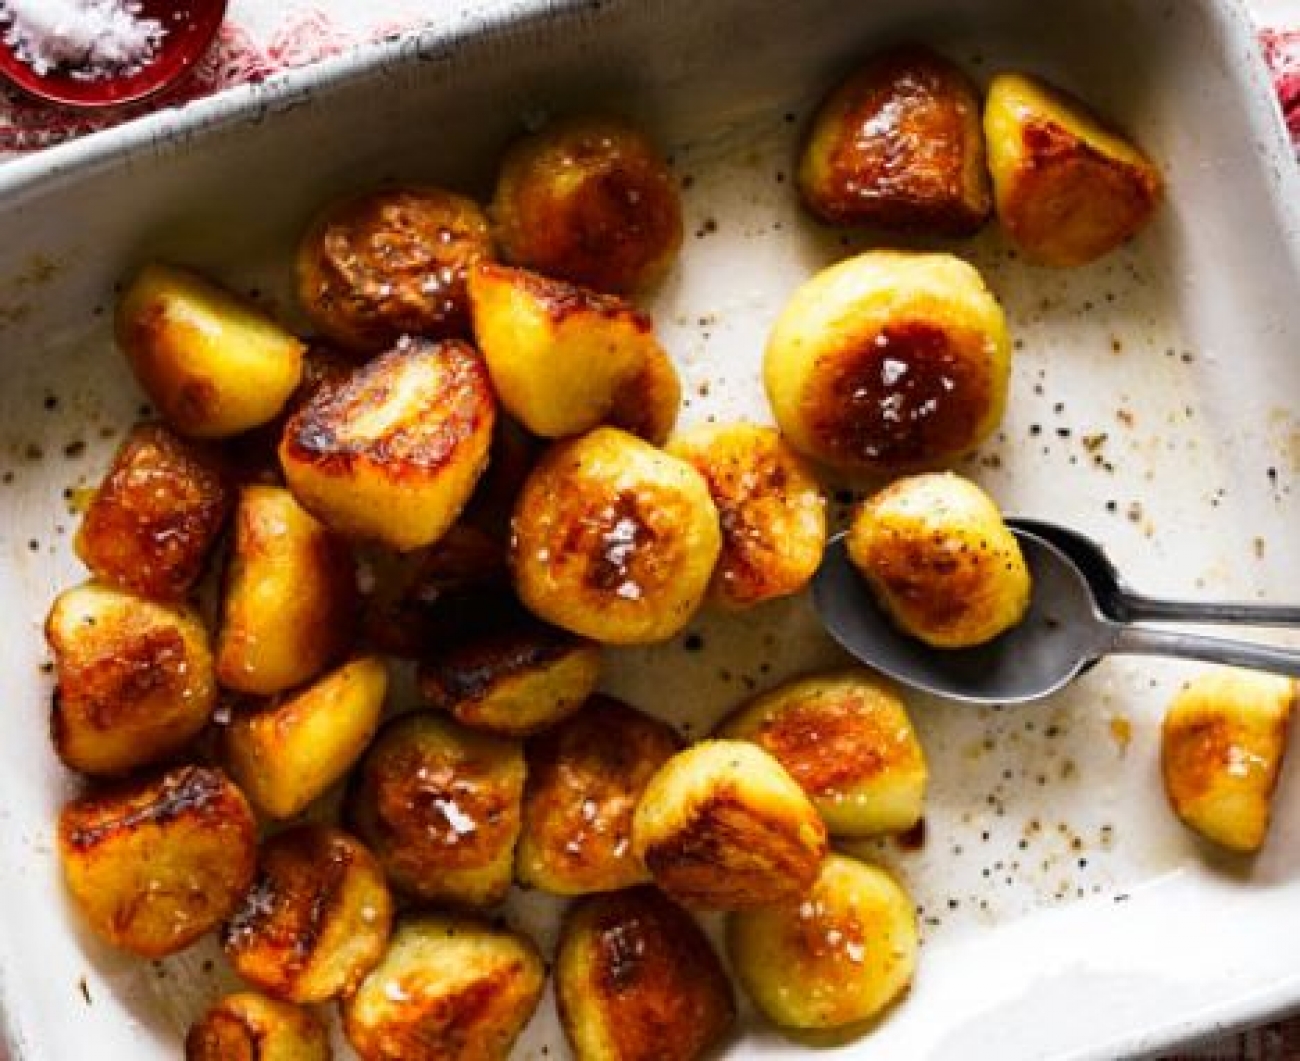 Due to exposure to my mom’s brown food aversion, and my own, near-certifiable level of impatience, I came exceedingly late to the brown food fan club.
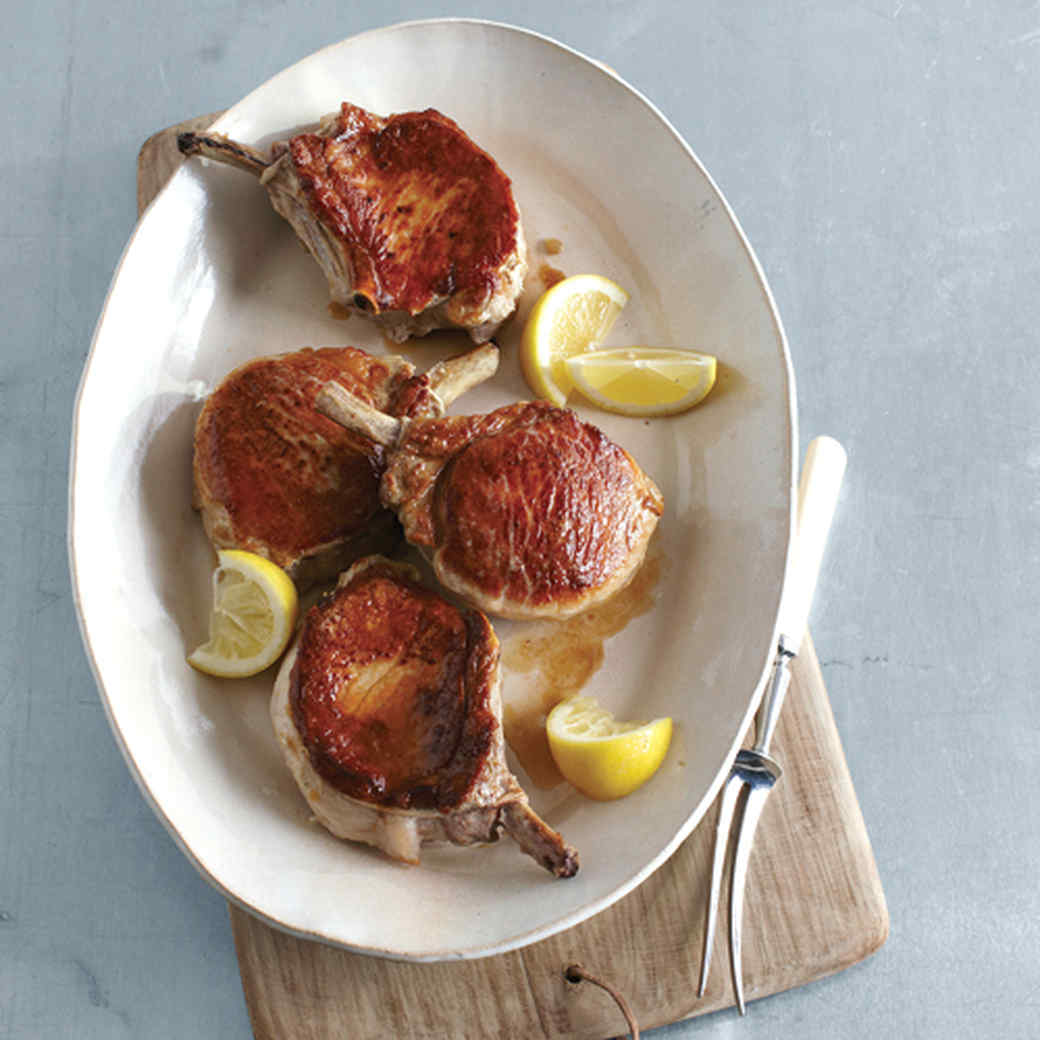 All you need is a metal pan (a cast iron is best here) that’s screaming hot and a little oil. Dry both sides of the meat, put the thinnest coats of oil on it, then season both sides. Place the pieces in the pan without crowding them, which will steam them, rather than sear. They should be no closer than ½ inch. And the more contact meat makes to hot surface, the more of it will be brown.
 Brown veggies though, are my newest obsession.
 When the cauliflower was heated through, I uncovered the pan and turned it up to about 6. There was a little water in the skillet from the veg which I wanted to cook off. This is where I had the happy accident.
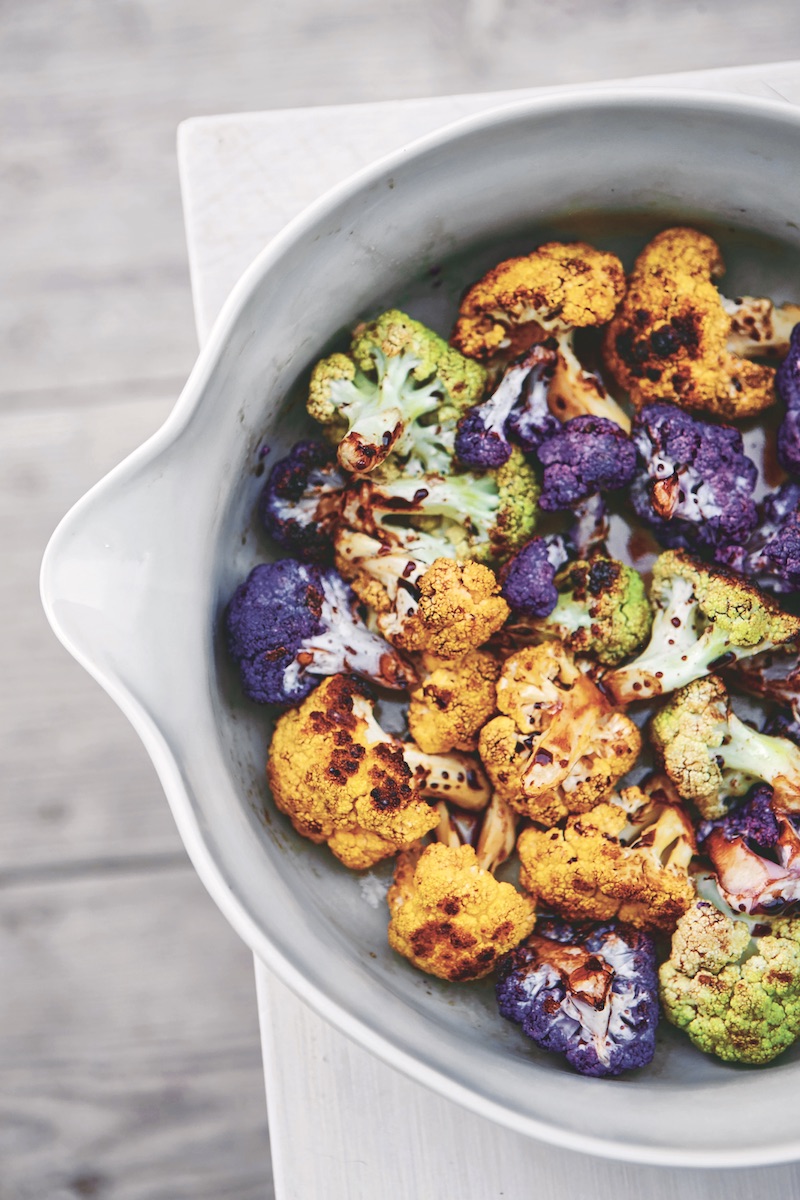 When I got back to it, it had developed beautiful browning. In the past, I never cooked vegetables until they picked up color. But, instead of deciding it was burned and discarding it, I just flipped it to expose another part to the pan.
 You can do this with both frozen and fresh. But it must be a harder veg, like broccoli, cauliflower, or carrots. A more tender veggie like peas, will turn gray. So cook them gently, then roll them in brown butter. They’ll pick up the maillard flavor without going all elementary school cafeteria food on you.
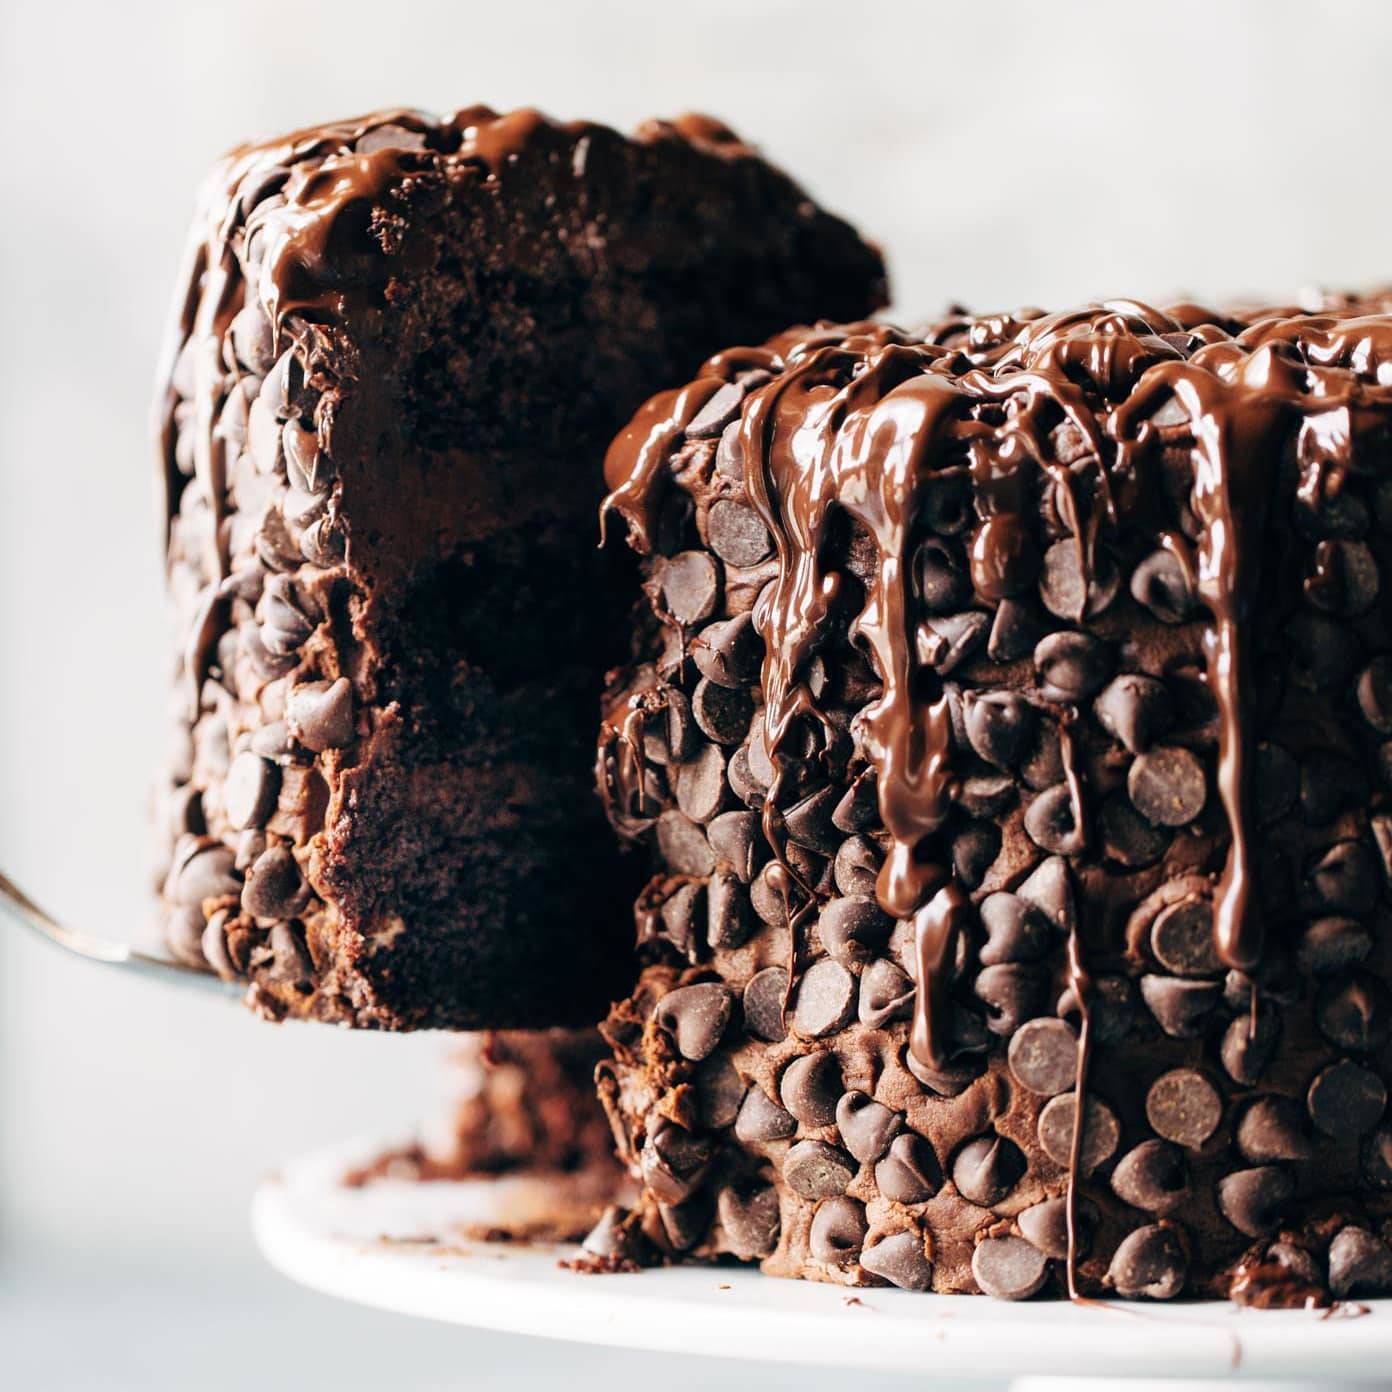 And, not burnt.
 My shopping philosophy is pretty simple, and it’s served me pretty well.
 Growing up, at our house, we always ate margarine. The only time I ate butter was when we visited family in either Pennsylvania, on my grandmother’s delicious homemade potato bread, or in New Jersey on a freshly baked breakfast roll.
 I don’t remember when I discovered the wonder that is brown butter. But, it was the luckiest kitchen mishap ever. I was melting butter for a veggie side dish, and my attention strayed. Soon I smelled this amazing, nutty, buttery aroma. By the time I returned to the stove, the light golden color of melted butter had deepened to a rich caramel.
 To use as solid butter, let it cool slowly, stirring frequently to keep the browned solids suspended throughout.
 And this brings us back to where we began.
 Thanks for your time.
 It’s the singer-dancer-actor Gene Kelly of the kitchen. A triple threat.
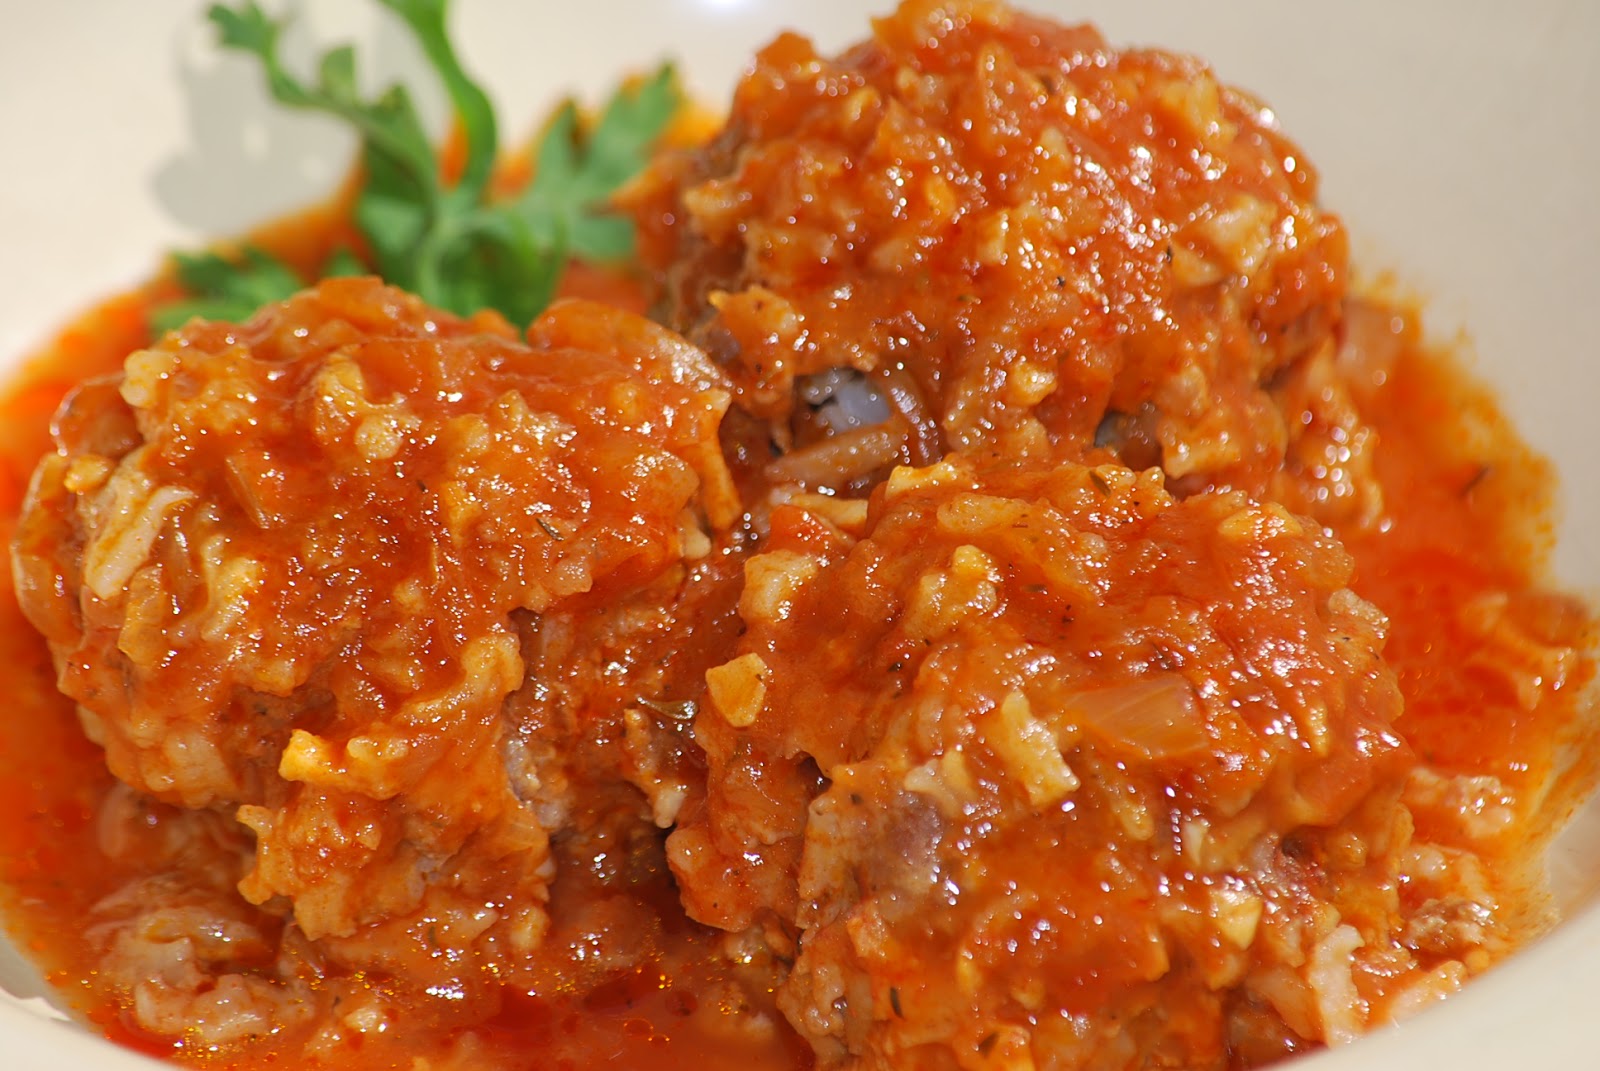
 One of the favorite meals in our family is roadkill. It’s not what you think, though. I have never served flattened possum, or sunbaked squirrel. Roadkill is our name for porcupine meatballs. But because I have trouble making meat spheres, I make patties. And years ago The Kid decided the pressed shape with bits of rice poking out resemble the result of animal versus auto.
 The best, nay, the only side dish allowed when we dine on road kill is steamed cauliflower tossed with plenty of slowly cooked, chestnut-colored butter.
 For softened butter, just brown the butter and let it re-solidify, stirring occasionally to keep the browned solids dispersed.
 2 cups nut pieces of your choice
 2 cups confectioners’ sugar
 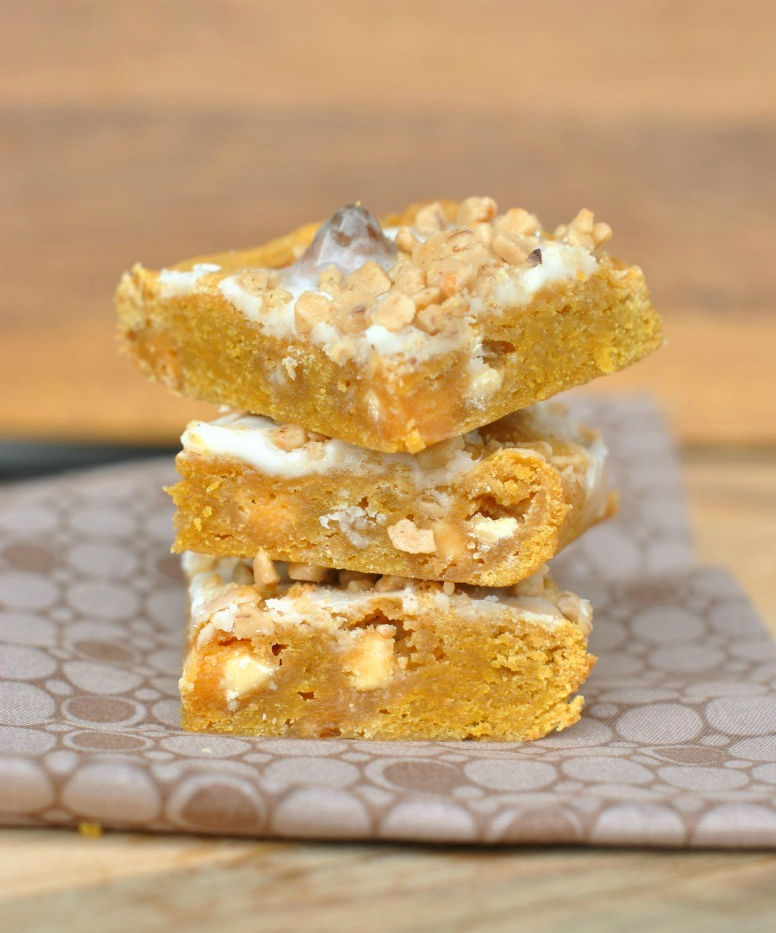 As good as these bars are, The Kid has a real problem with them. It has nothing to do with flavor; they are bright, moist, and sweet, but thanks to the brown butter, not too sweet.
 Thanks for your time.